Drillable Columns in Drillbridge

One of the more often requests that Drillbridge users have is to be able to have drillable columns. That is, they’d like to drill from a column in a Drillbridge report by clicking on the column value and pulling up another report, using the point-of-view (POV) of the original cell. This is most often used in a few different situations:

  • Drill into yet more detail for a given transaction
  • Drill to a PDF or image related to the current item
  • Drill to a custom URL, such as a Sharepoint URL

Drillbridge has supported this feature for quite some time, and it’s pretty easy to setup. Today I’m going to walk through the steps for setting up drillable columns in the latest version of Drillbridge Enterprise.

First of all, let’s take a look at a generic Drillbridge report that executes a query by converting the member from the Years dimension from something like “FY12” into the value of “2012” and then executes a query:

drillbridge-drillable-columns-source-query

Note that for readability I have broken the token up across several lines. This works just fine in the latest versions too and is a nice way to increase readability. Let’s see what this query generates by going over to the Test screen:

drillbridge-drillable-columns-testing-source-query

And building the report:

drillbridge-drillable-columns-source-query-data

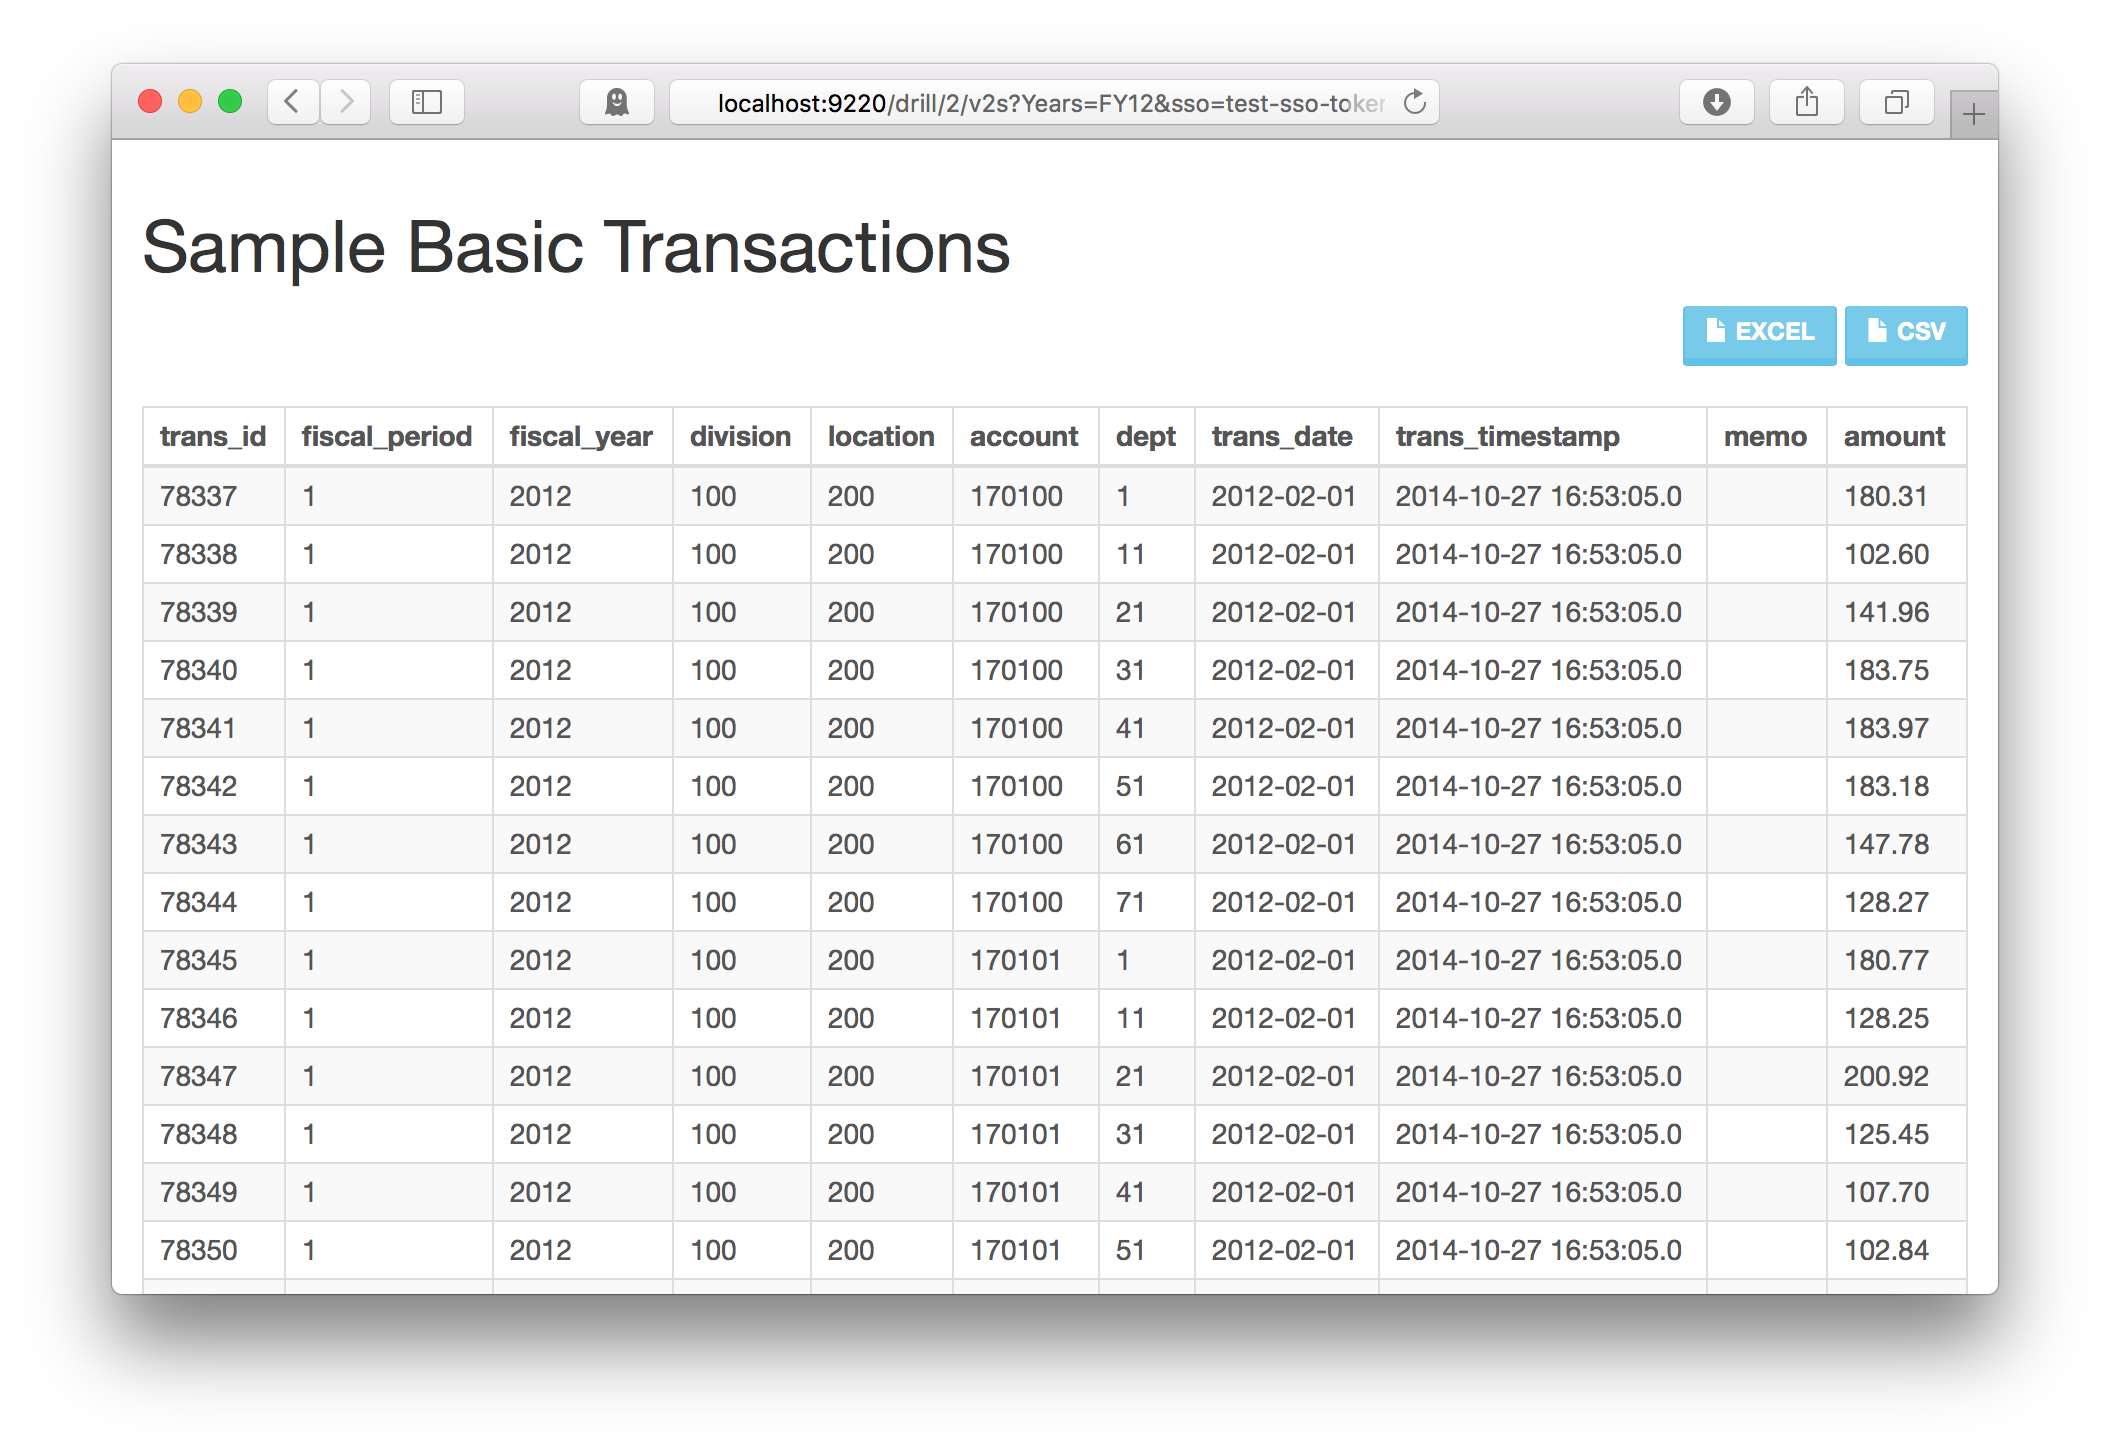
Everything looks good so far – note that the drillable column hasn’t been setup yet so we shouldn’t be expecting any special links to appear yet.

Now let’s create a new report definition. This new report type will be a special report type known as a “Forwarding Link Report”. If you think about a normal Drillbridge report, it builds a SQL query by taking the POV and plugging it into a template. A Forwarding Link Report works in much the same way, except instead of building a SQL query, it builds a URL and forwards the browser to it.  In this case I’m just going to build a simple link over to Wikipedia since they have a nice simple URL structure that is good for illustrative purposes.

Here’s our link definition:

drillbridge-drillable-columns-link-query

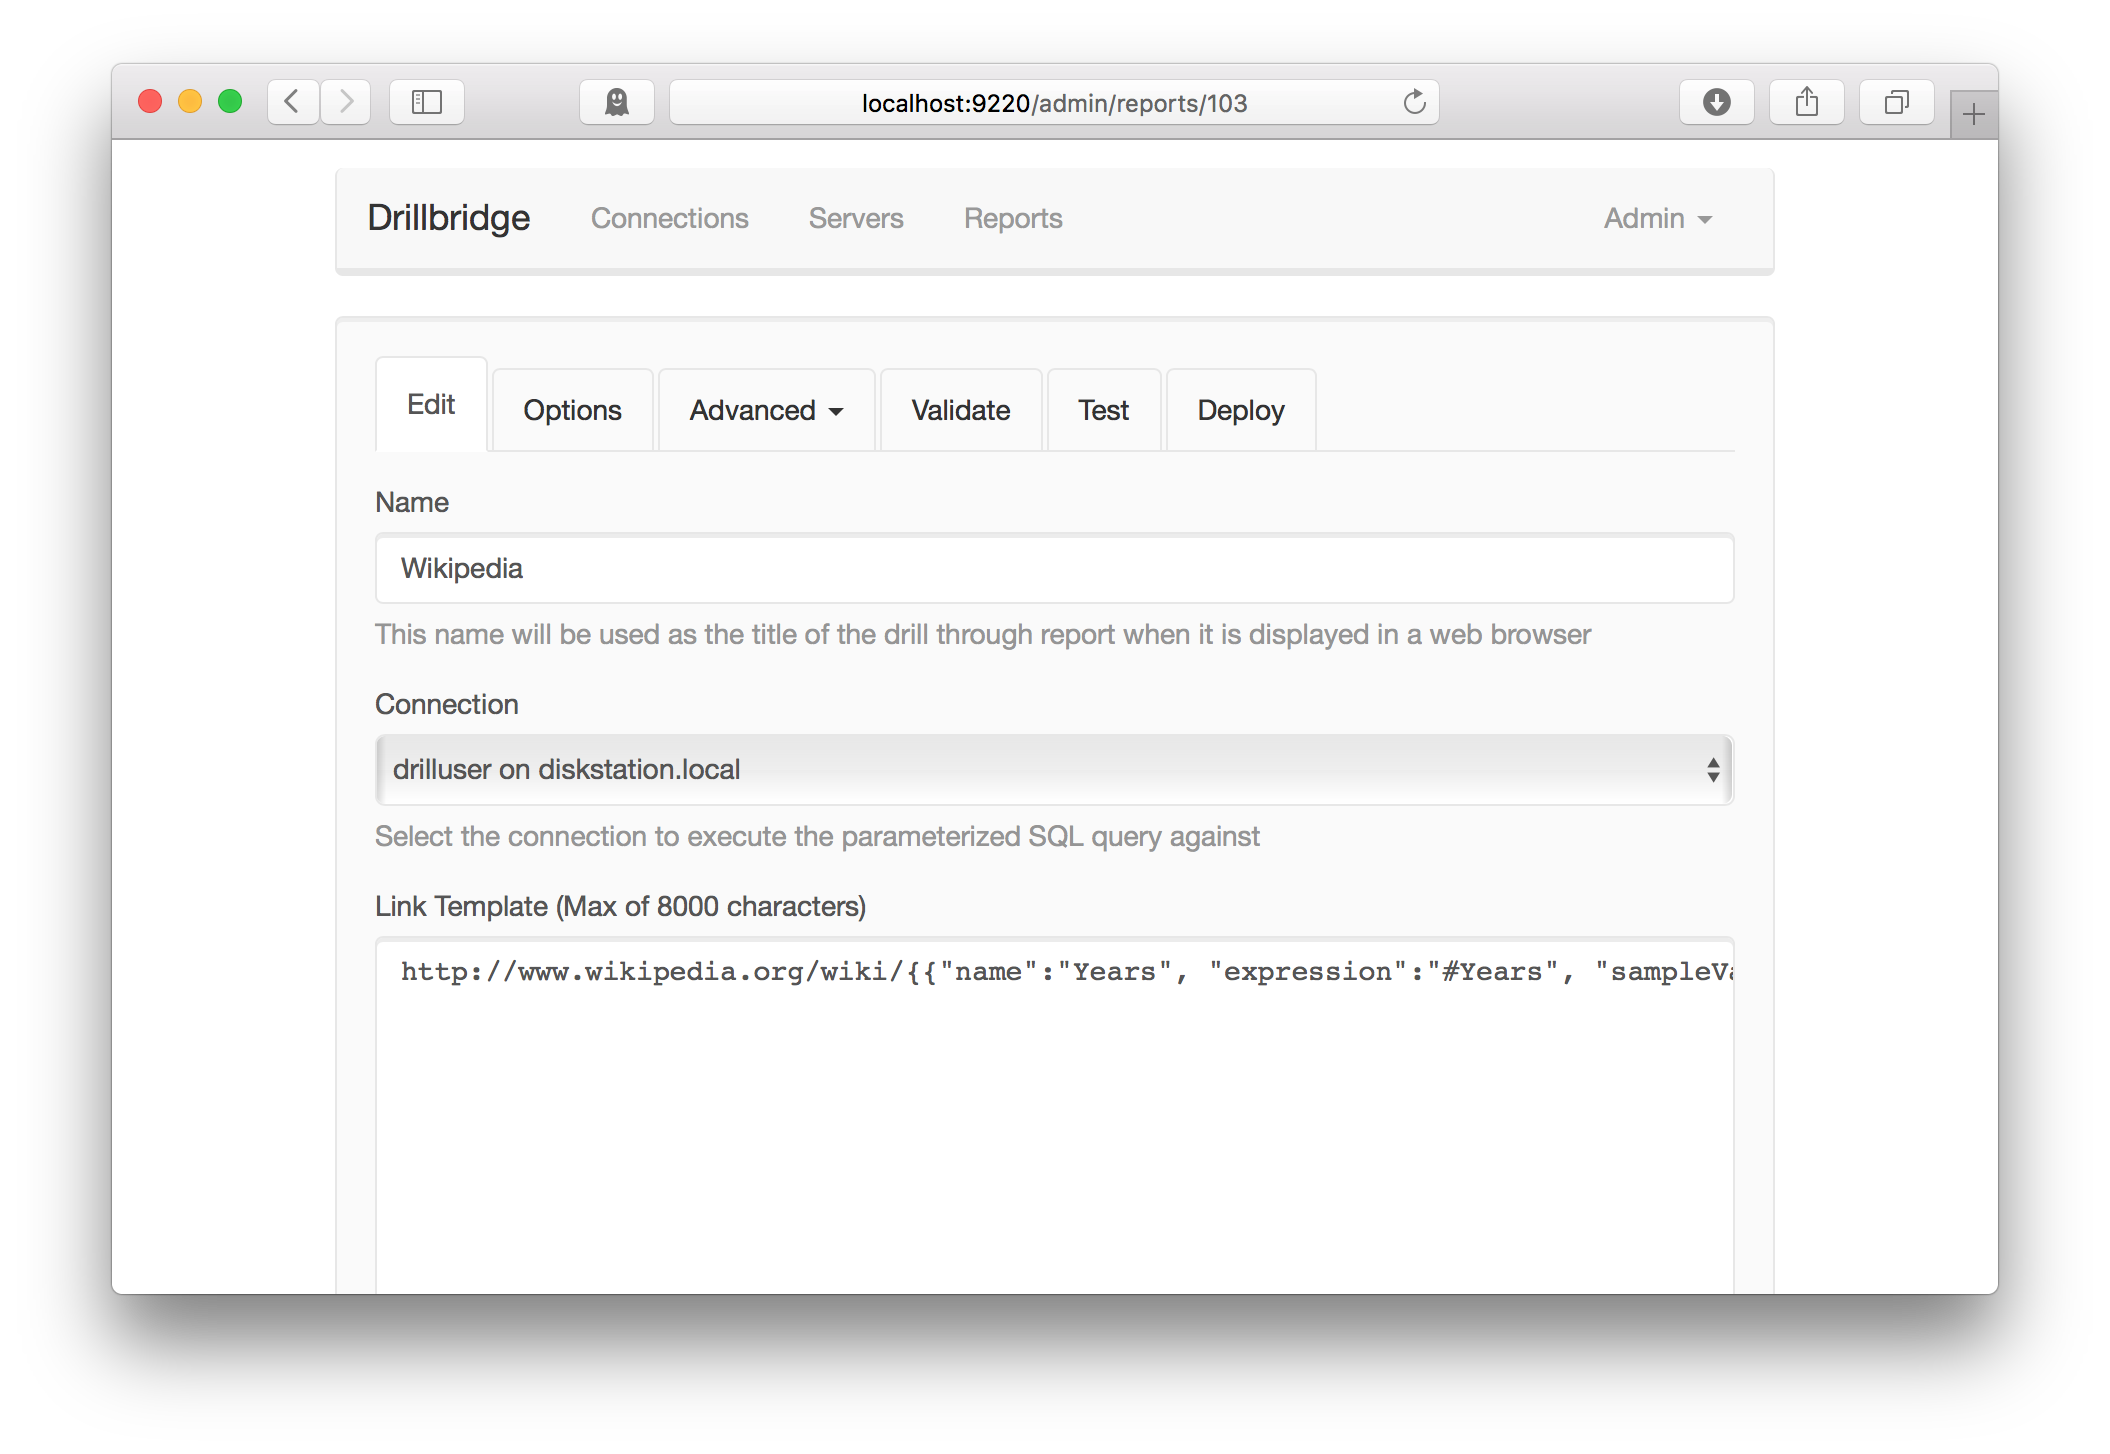
Note the label above the text box for editing the link definition. Instead of saying it’s a SQL query, it refers to it specifically as the Link Template. This is because the report type itself has been changed (which is needed to make this type of report work). To change the report type we go to the Advanced menu and the click on Class, bringing up this editor:

drillbridge-drillable-columns-target-class-type

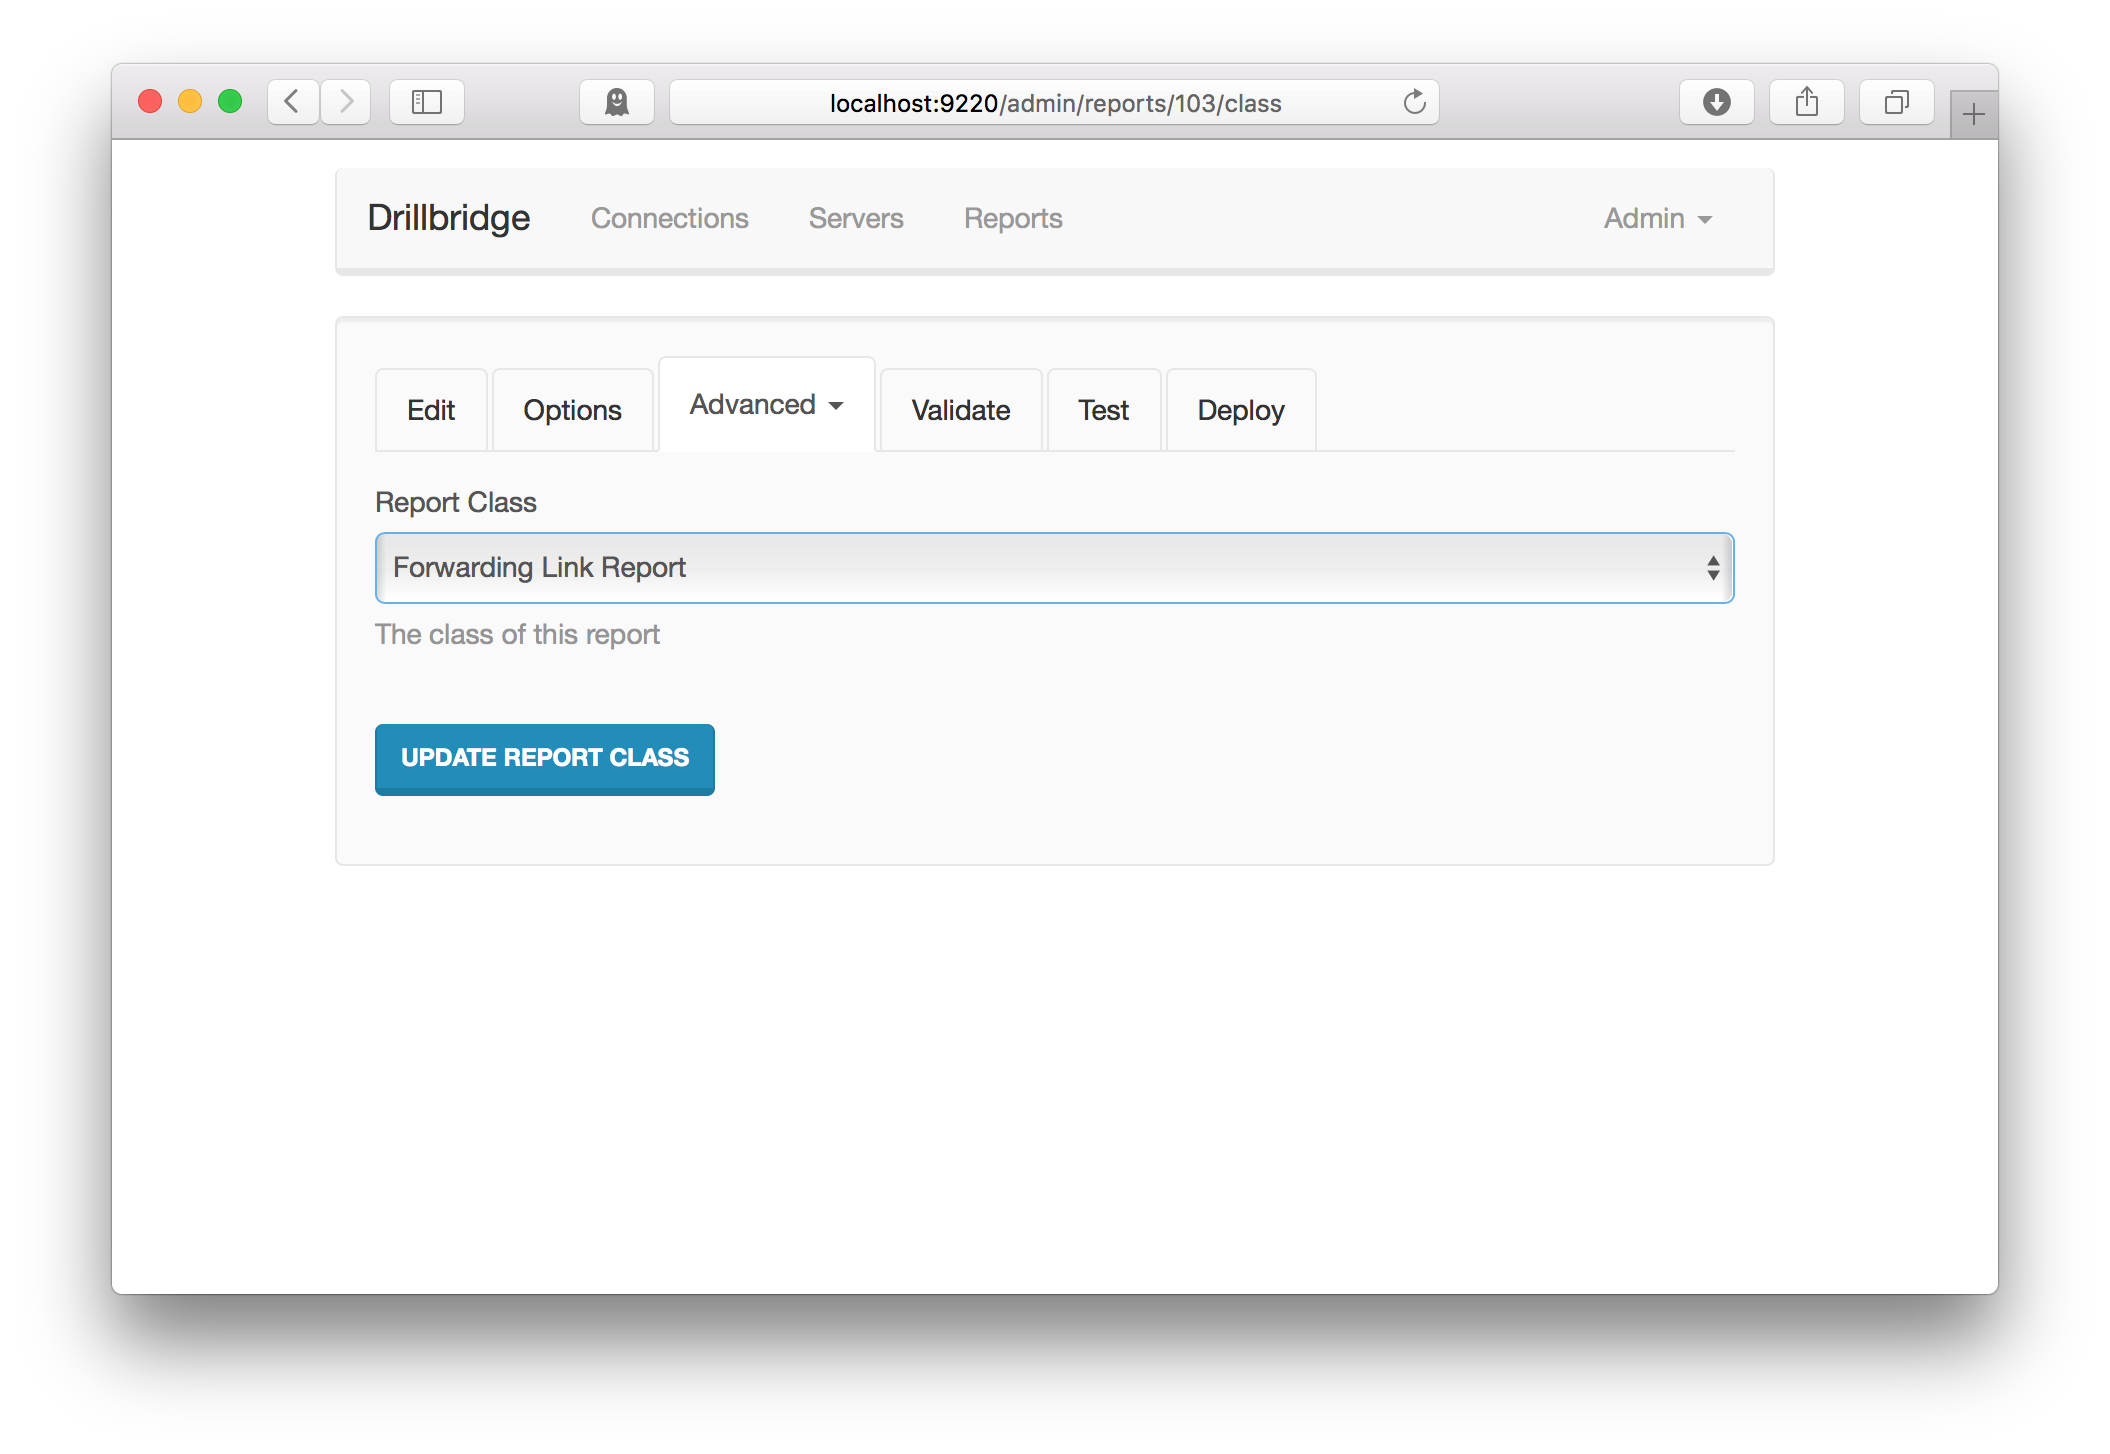
Note that in this case, the types available are JDBC drill-through report (the typical report type), Forwarding Link Report, or MDX report (yes, Drillbridge can execute MDX queries too!). The Drillbridge report system is completely modular and developers can add their own report types using a simple Java plugin.

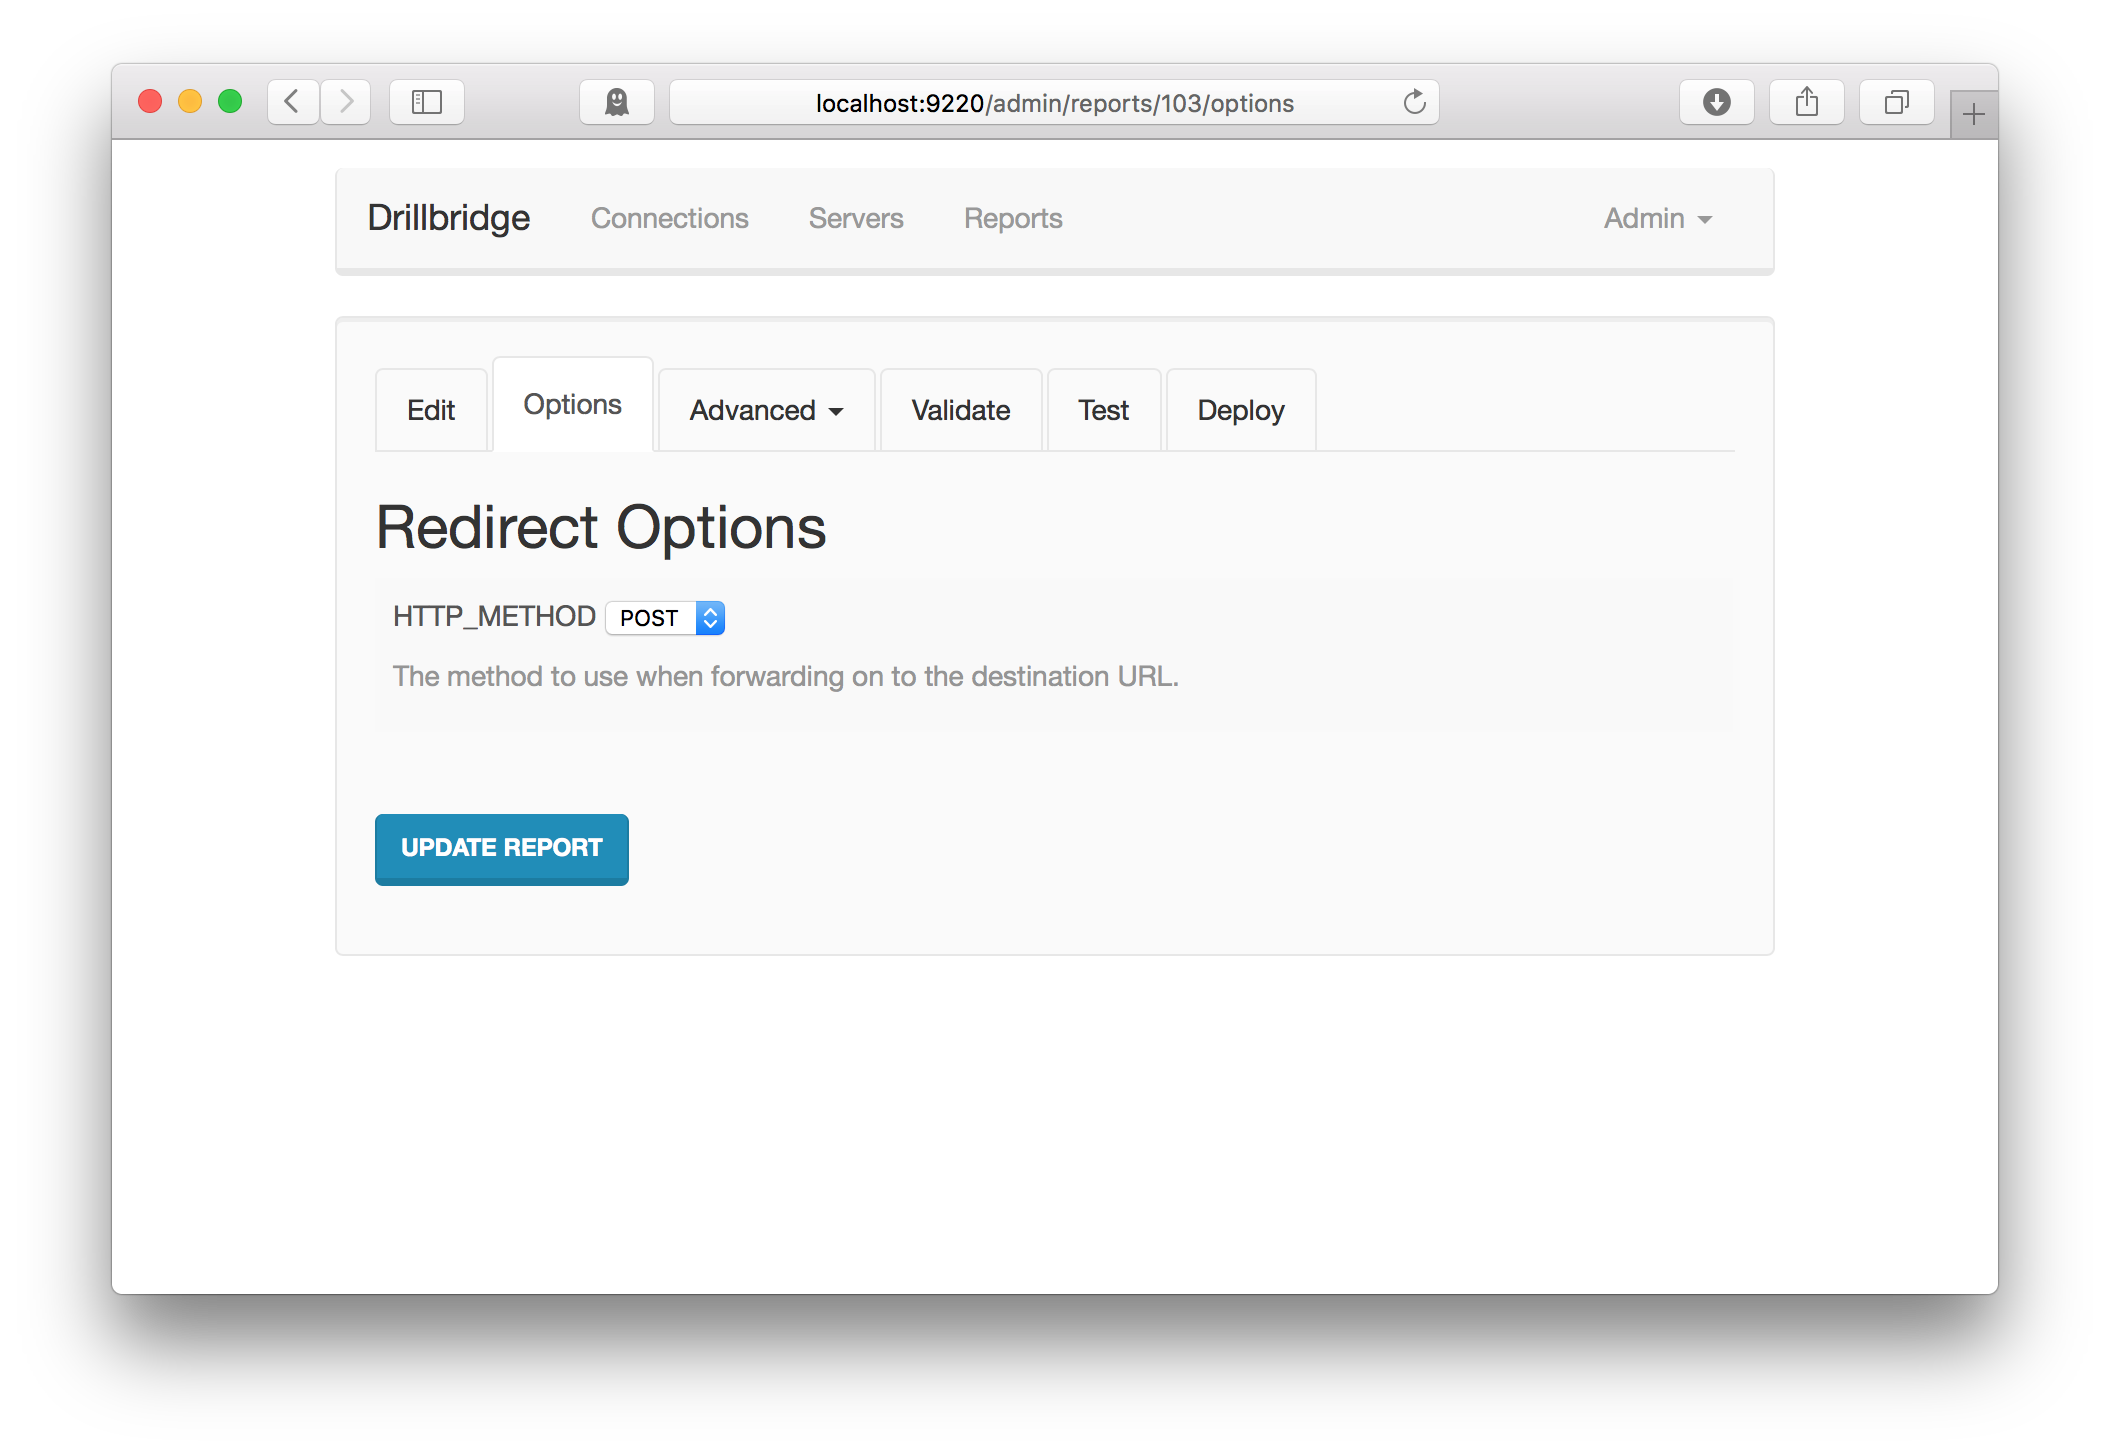
Custom report plugins can also easily “advertise” their available options to Drillbridge so that Drillbridge can provide a nice UI for configuring them. For example, in the case of the forwarding link report, there is just one option available (as opposed to the 20 or so options available on a typical report) that let’s us choose the HTTP “verb” type to use:

drillbridge-drillable-columns-link-options

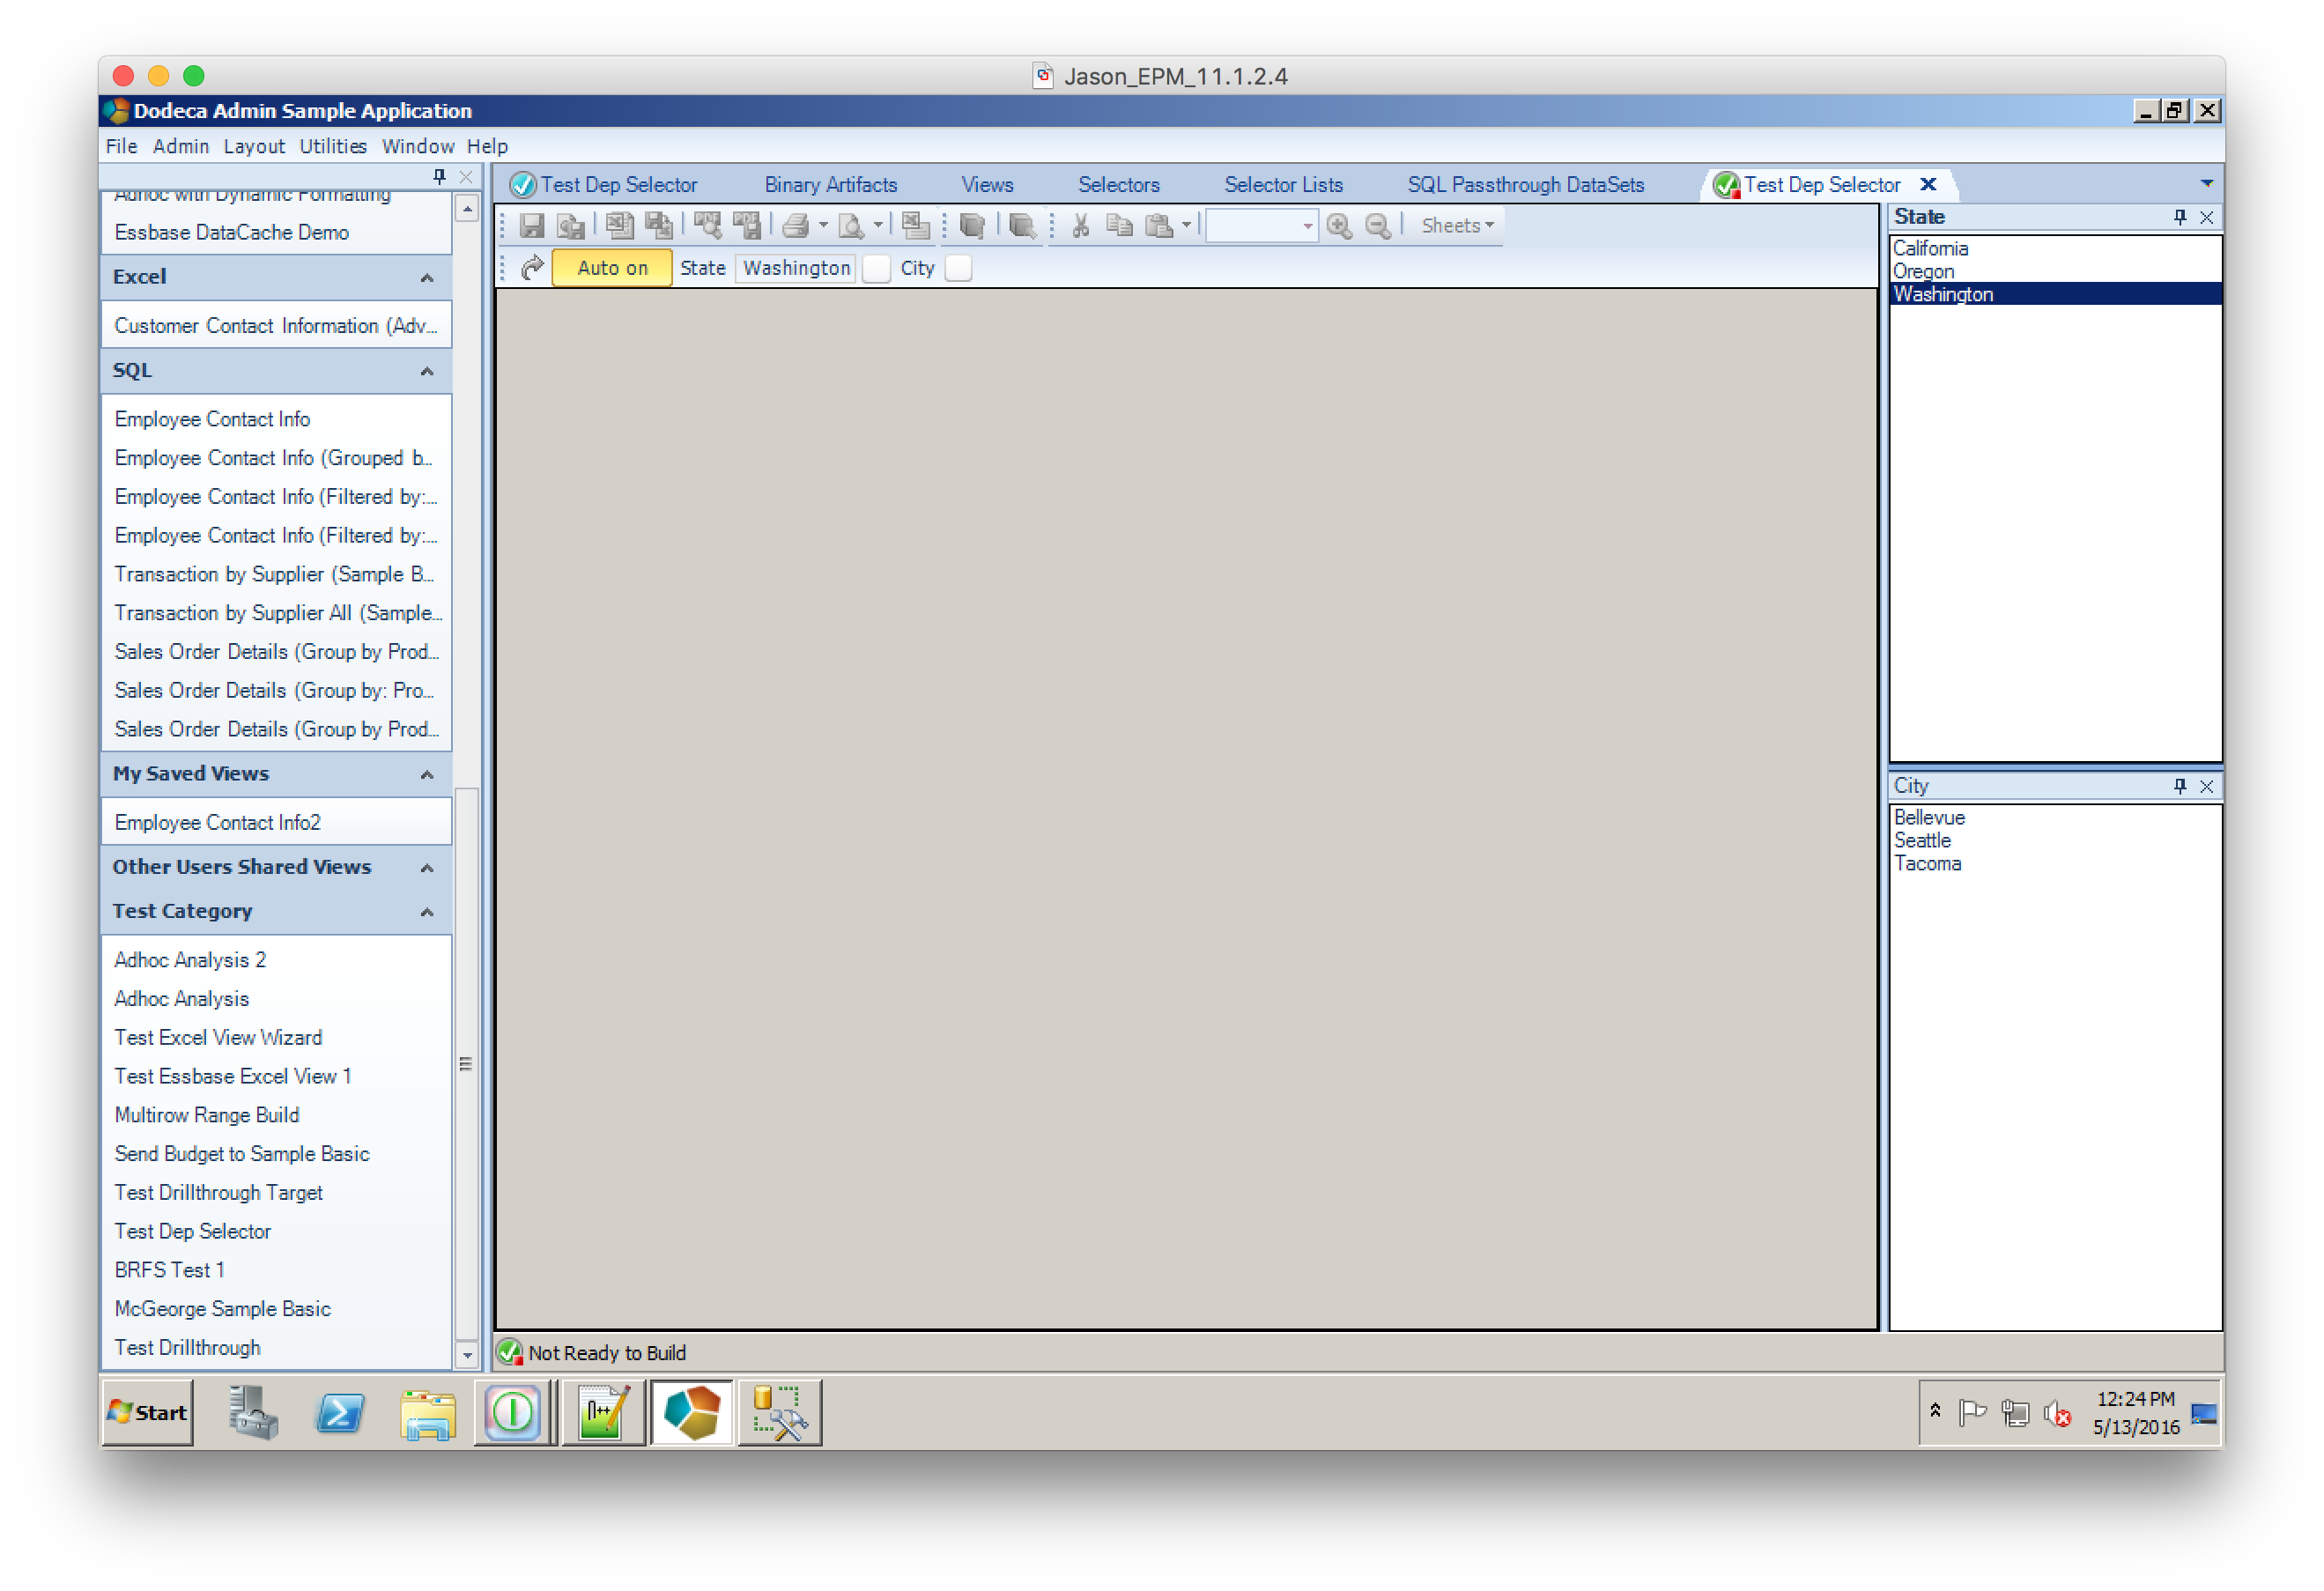
Let’s head over to the Test tab for this new link report and see what happens:

drillbridge-drillable-columns-testing-link

Let’s build it and see what happens:

drillbridge-drillable-columns-link-wikipedia

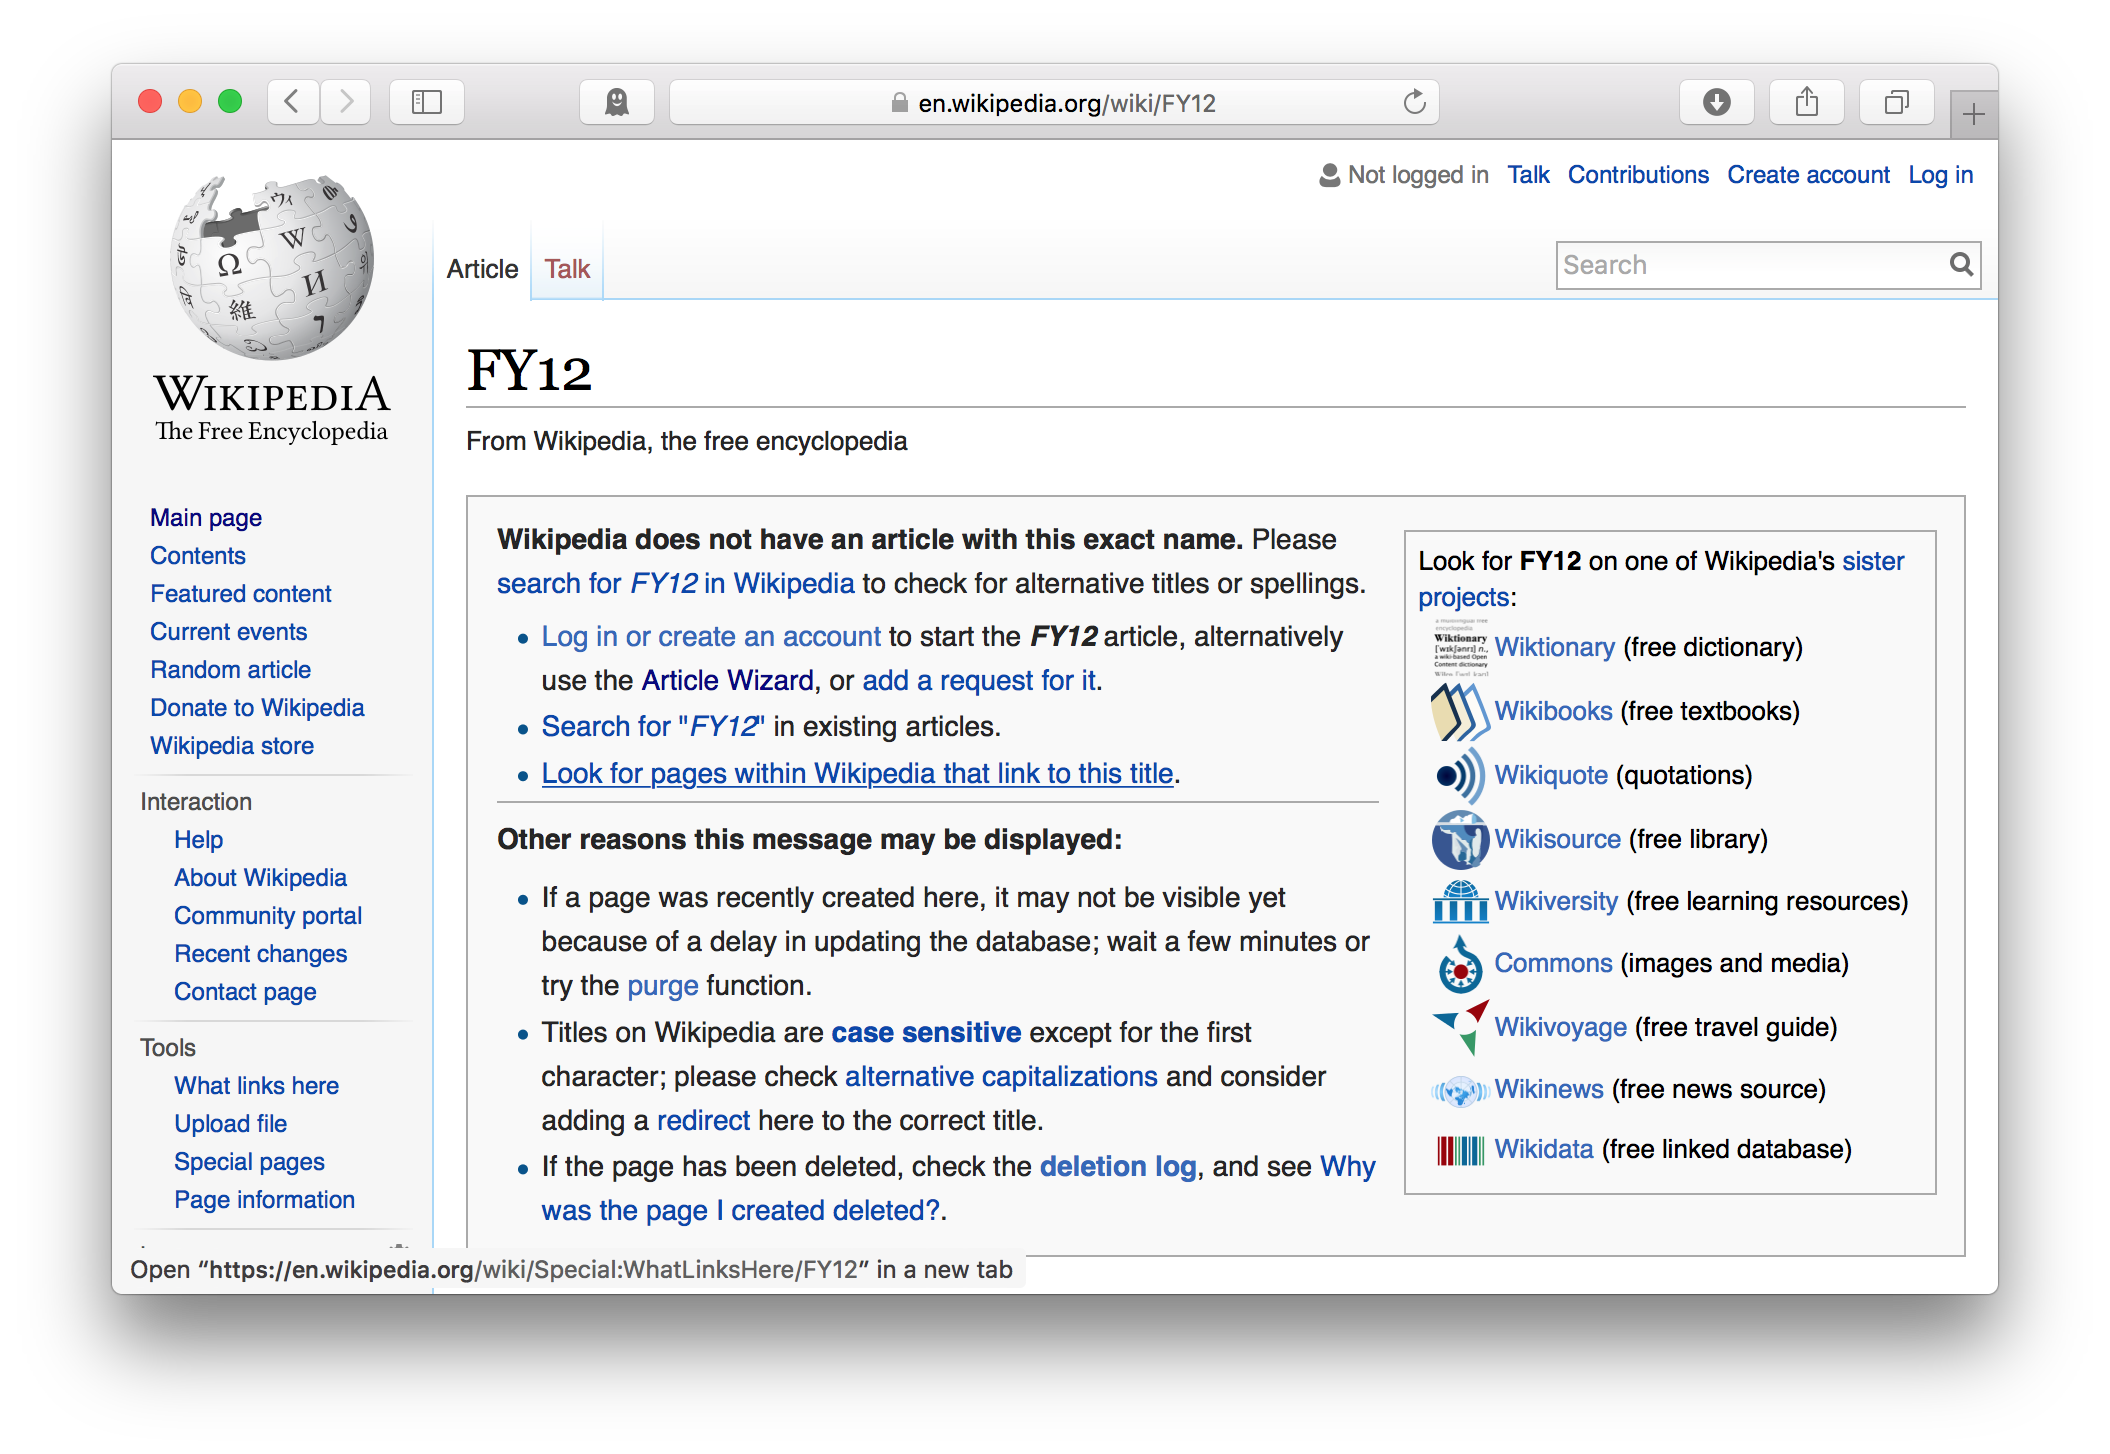
As expected, the given input was used to build a link and our browser was redirected there immediately. This is one of the nice things about doing drill-through in a web browser: you can do pretty much anything you want.

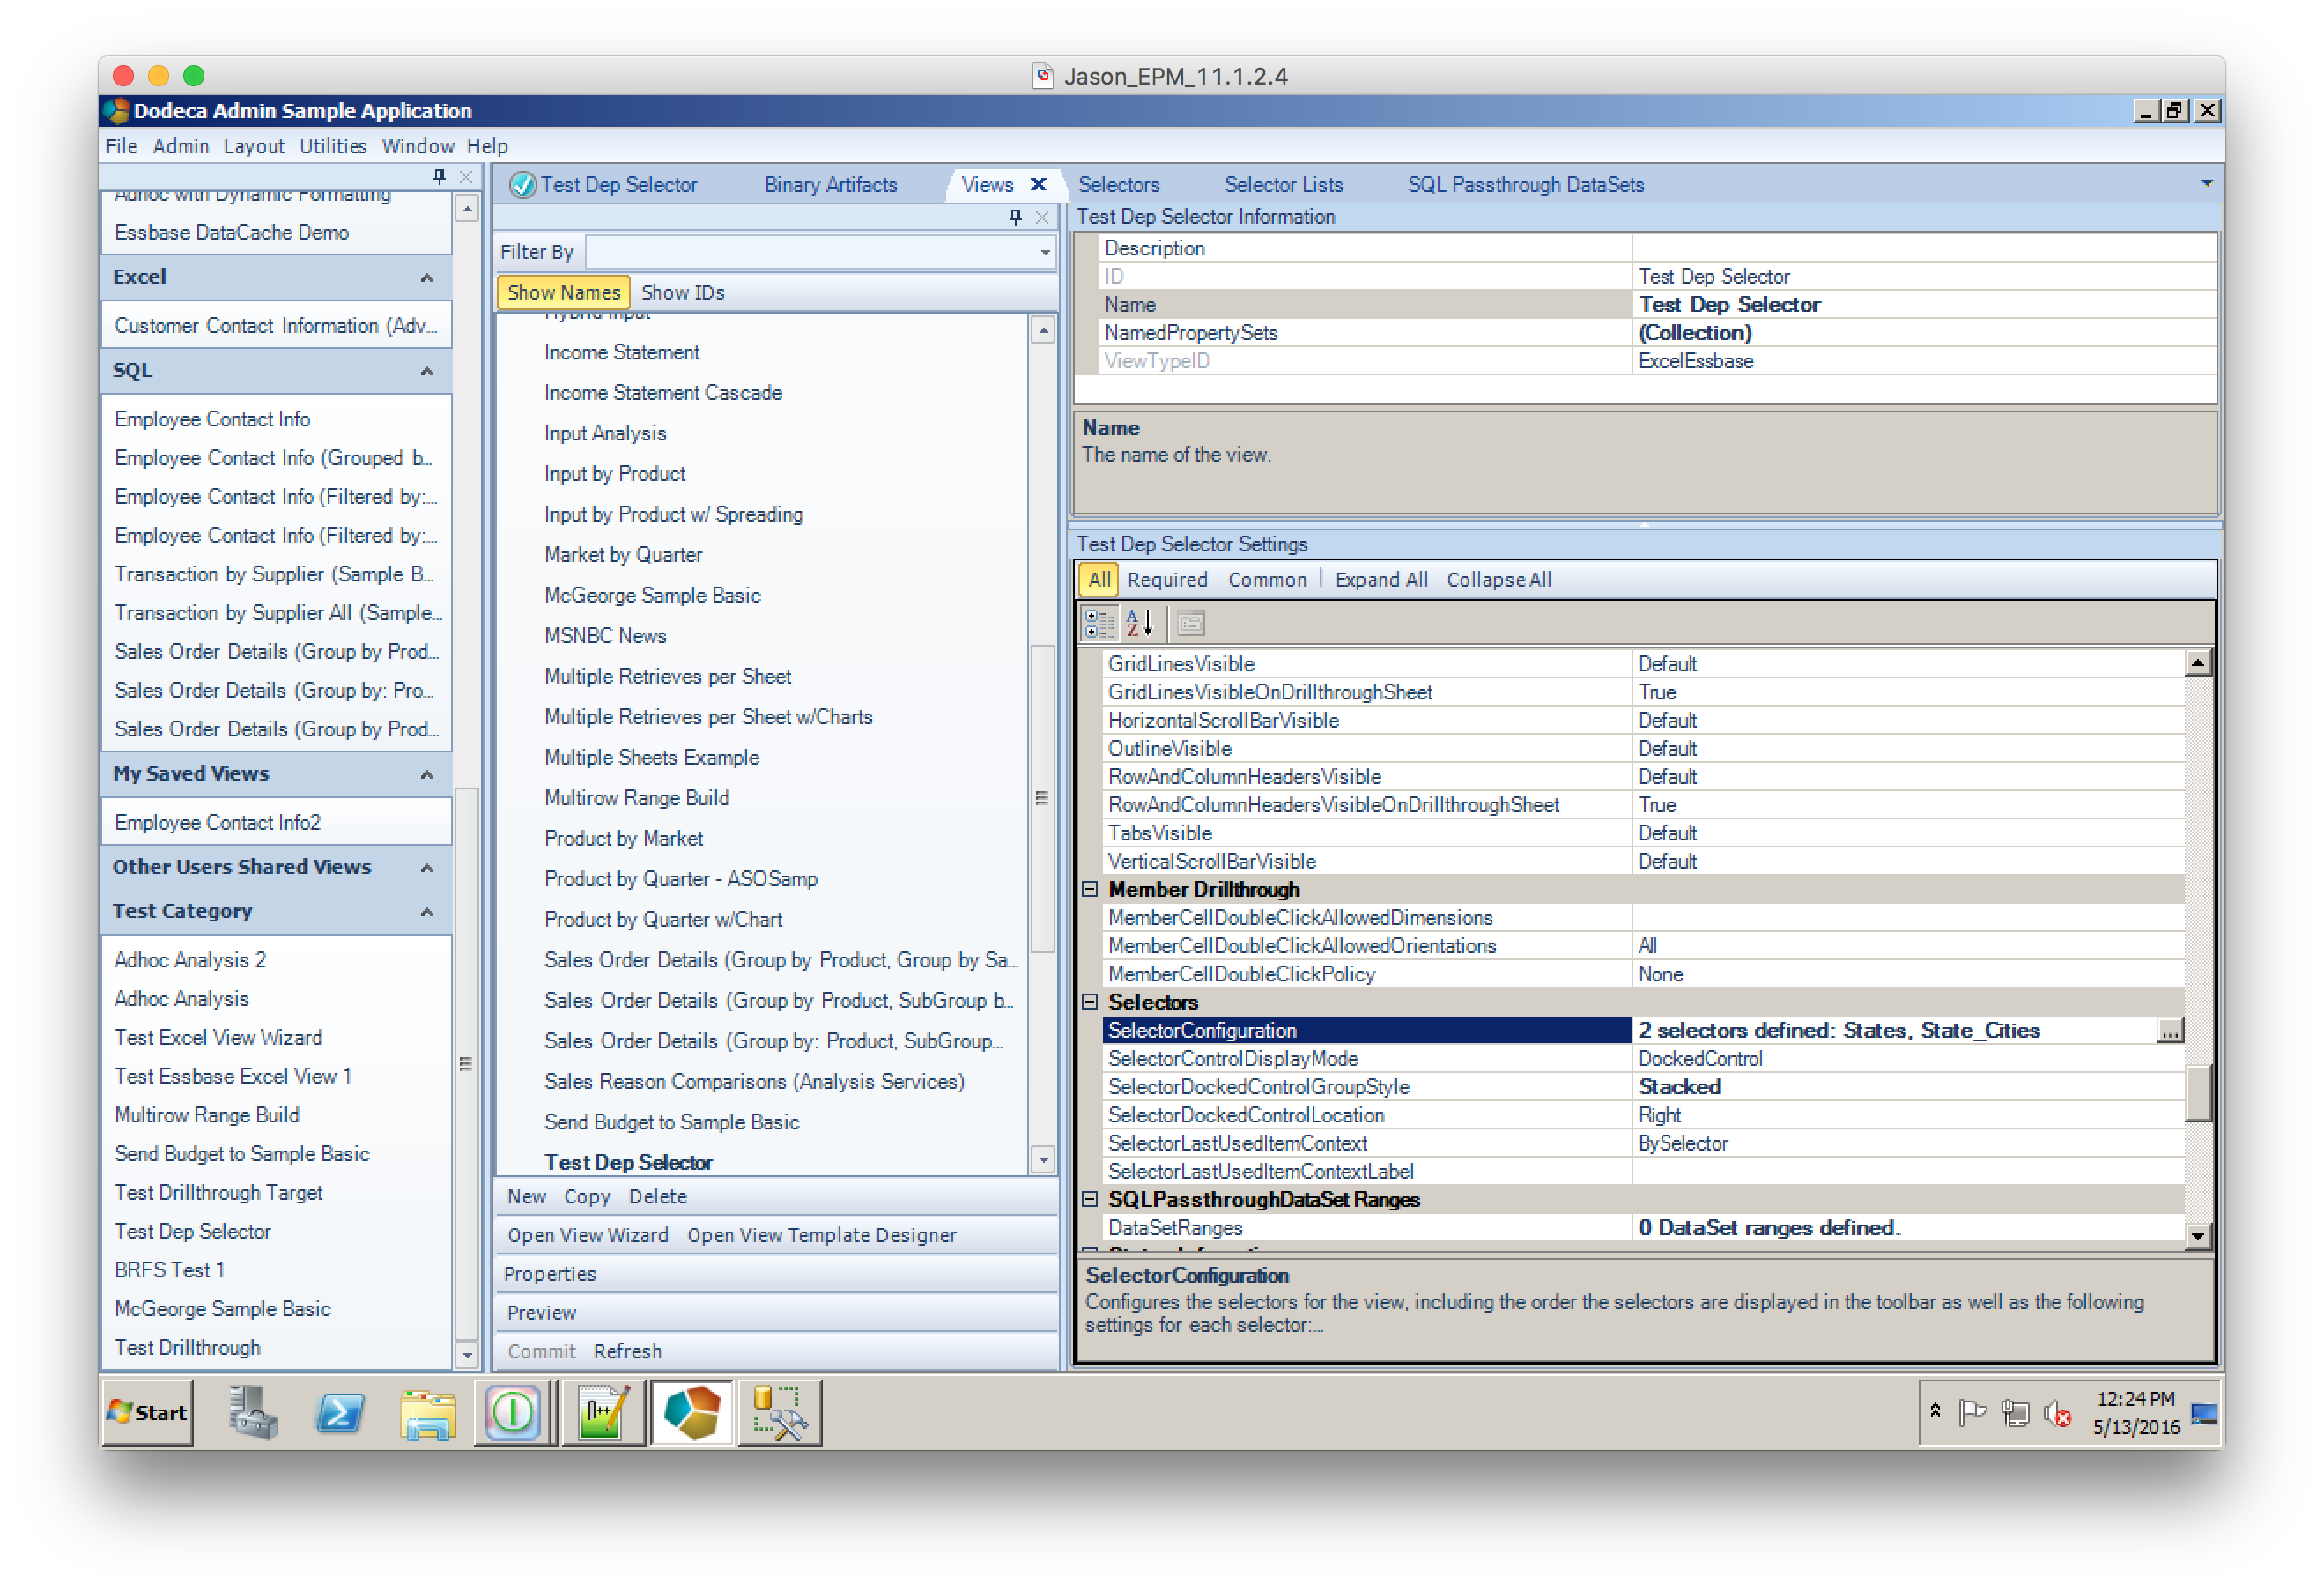
Now, what we’d like to do is make one the columns in our first report drill over to the results of this new link report we just setup. To do that, let’s go back to the original report, then go to the Advanced menu, then Drillable Columns:

drillbridge-drillable-columns-drillable-columns-list

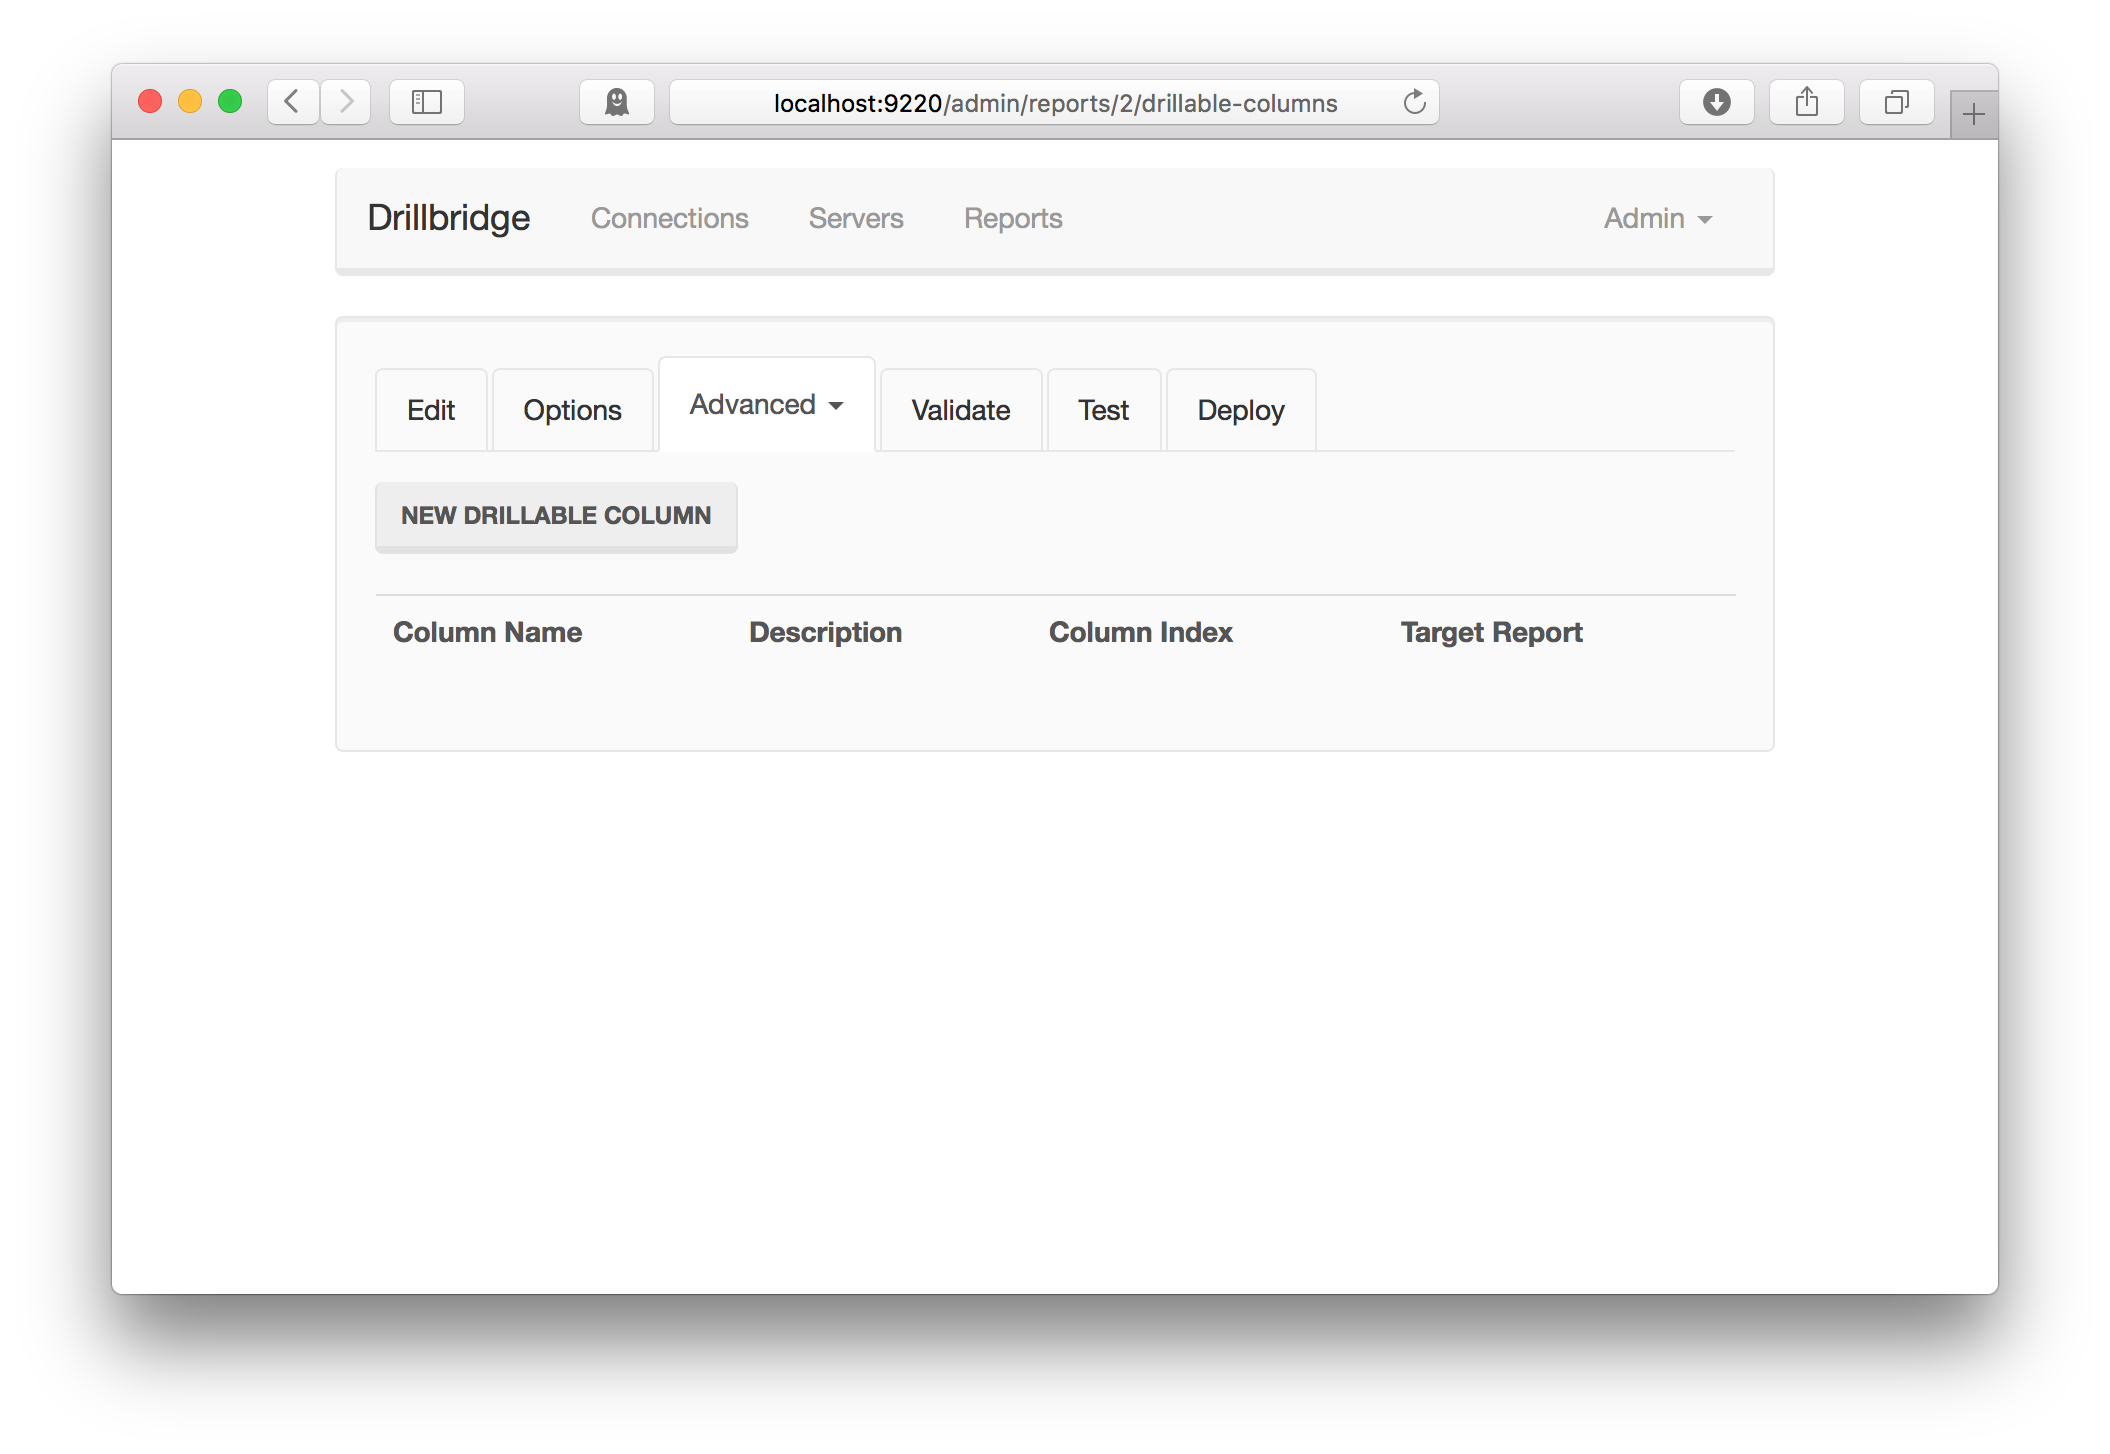
Then click on New Drillable Column. The editor will be brought up:

drillbridge-drillable-columns-editing-column

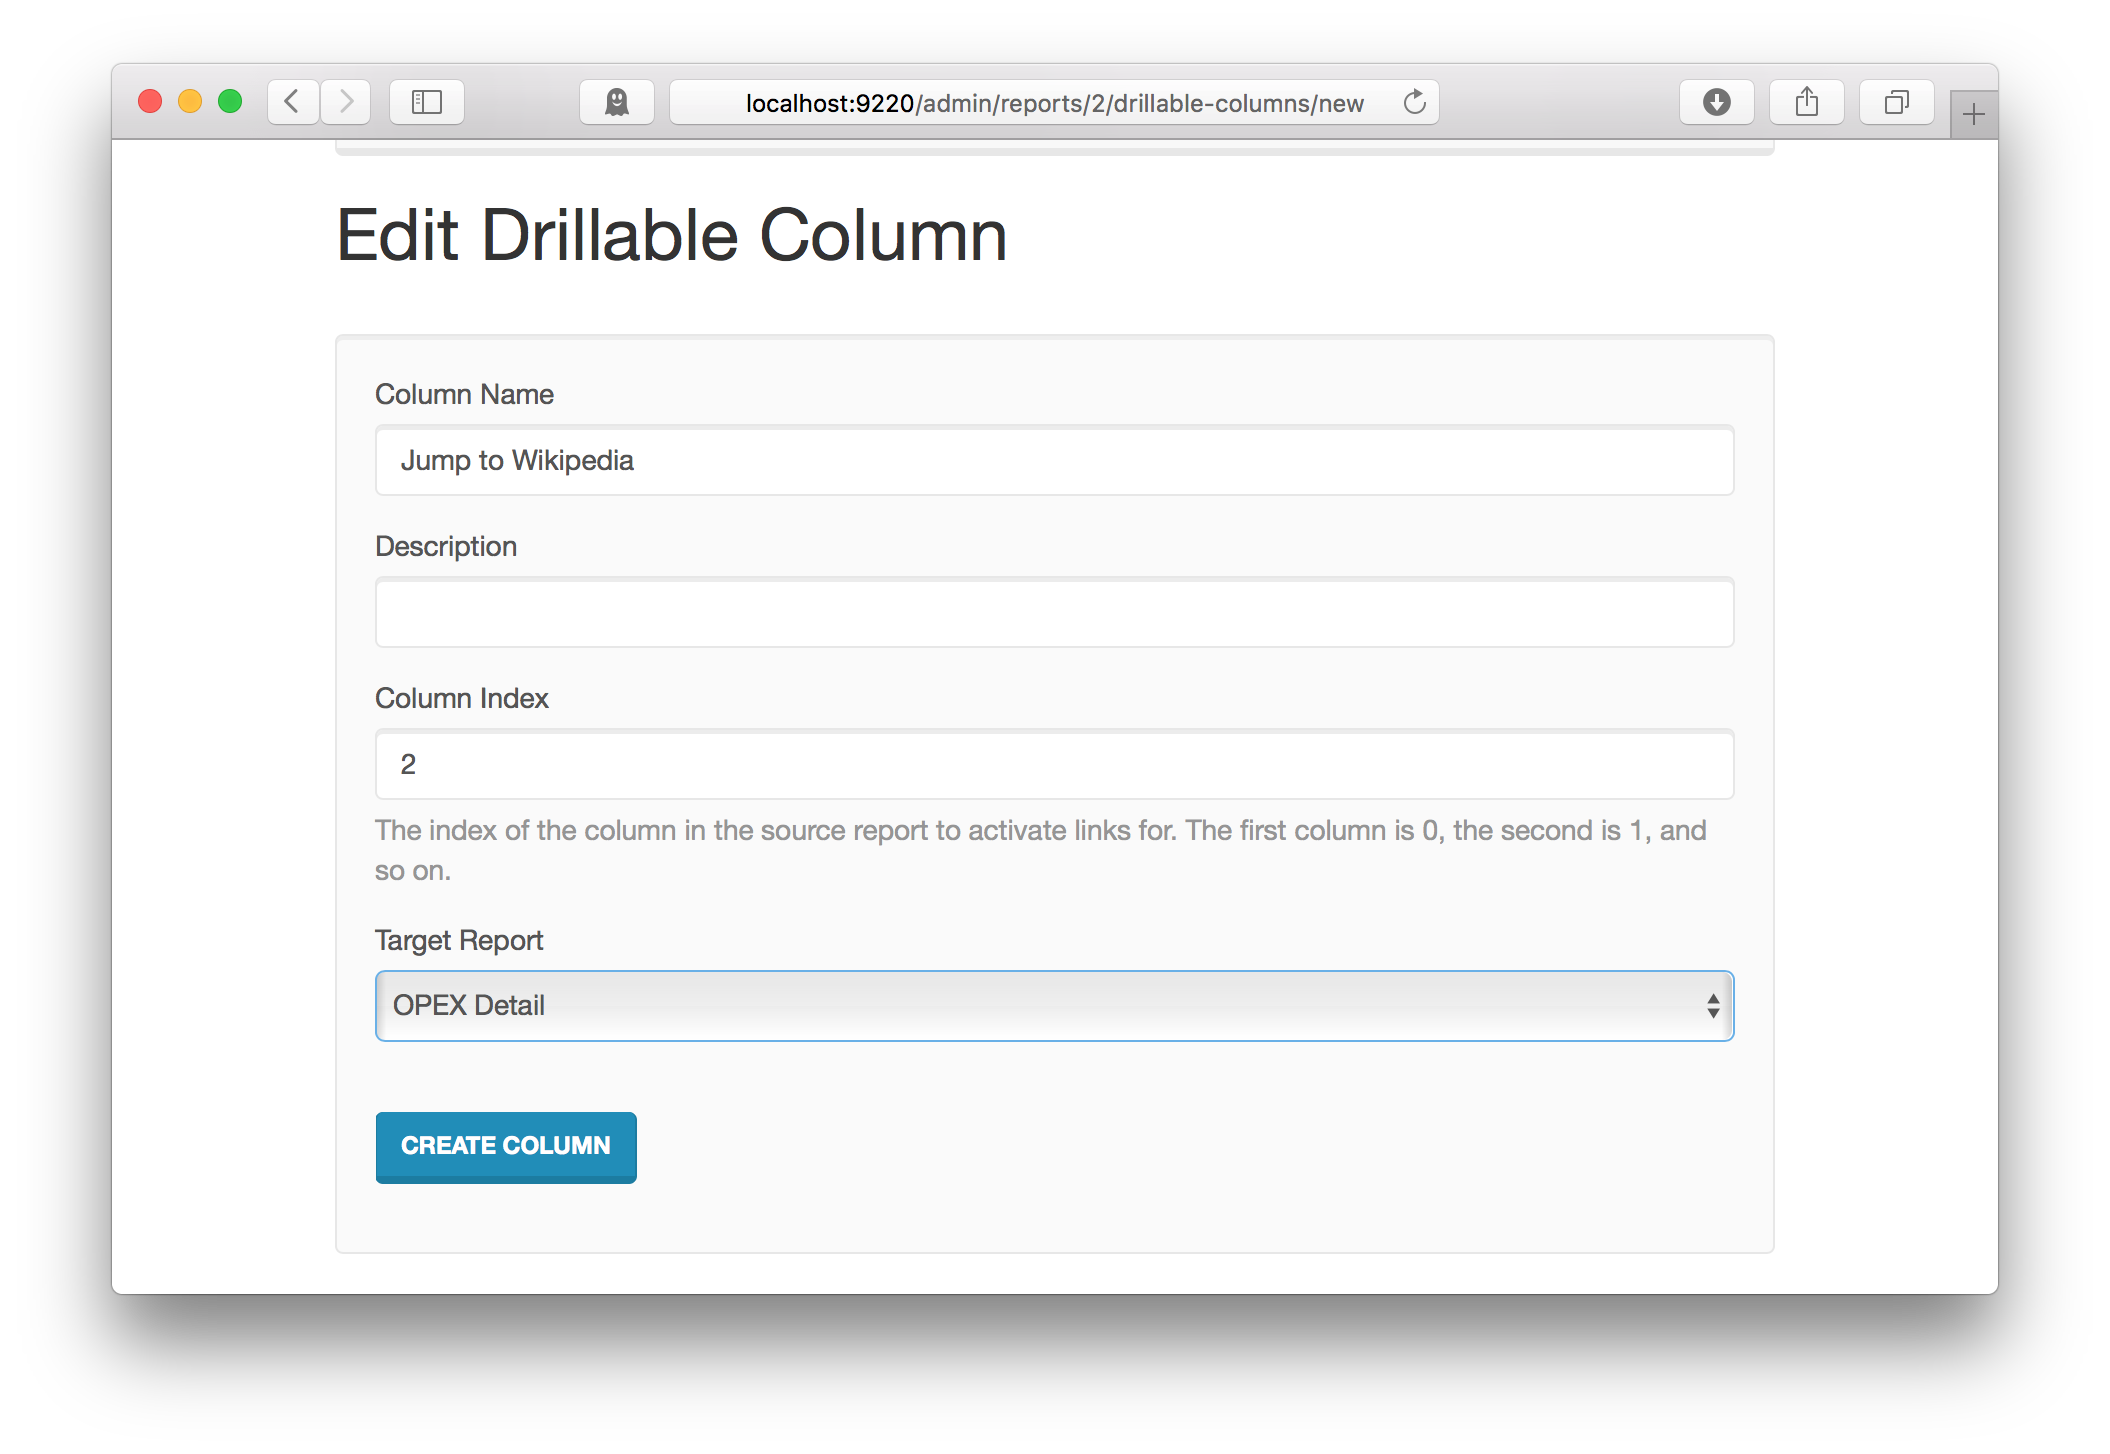
Here we have a chance to give this drillable column a name, tell the report which column should be drillable, and then choose the target report. We can put in anything we want for the name. What’s important in the column index and target. The column indices start at 0 for the first column and then count up. In this case we want the third column to be a link, so this is column index 2 (0 = first column, 1 = second column, 2 = third column, etc.). Then we select our new report as the target report, which I named “Wikipedia”.

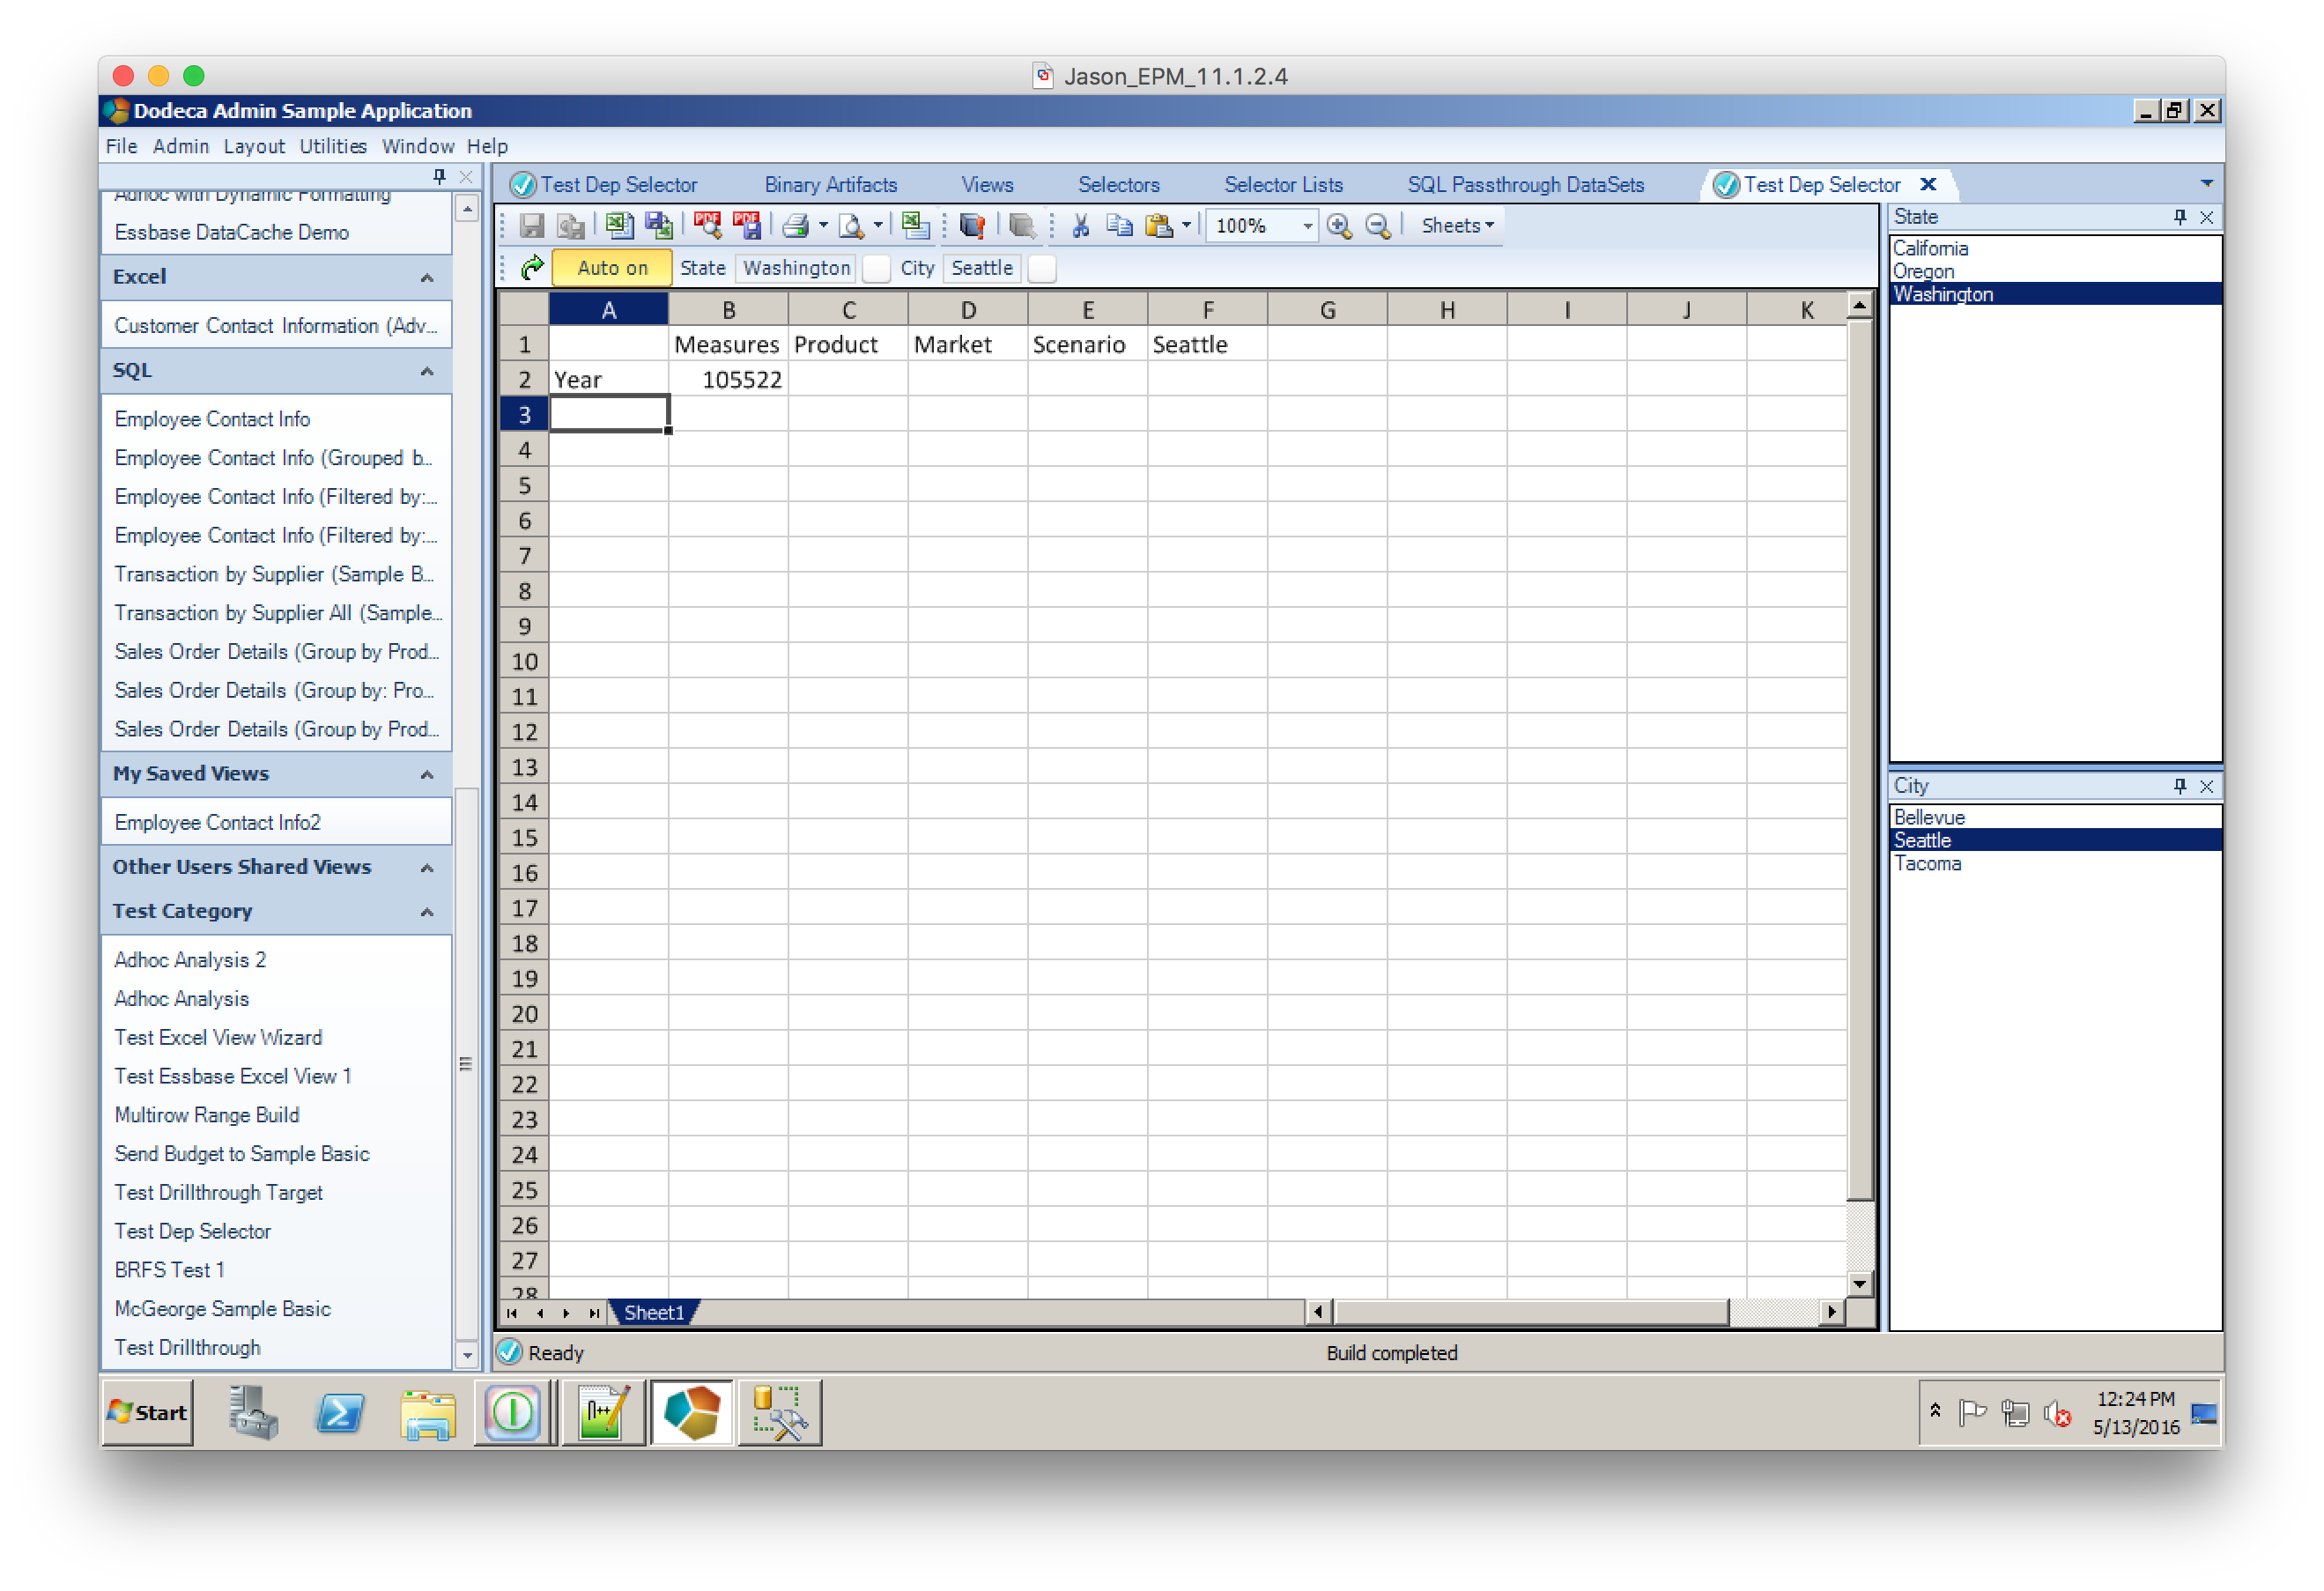
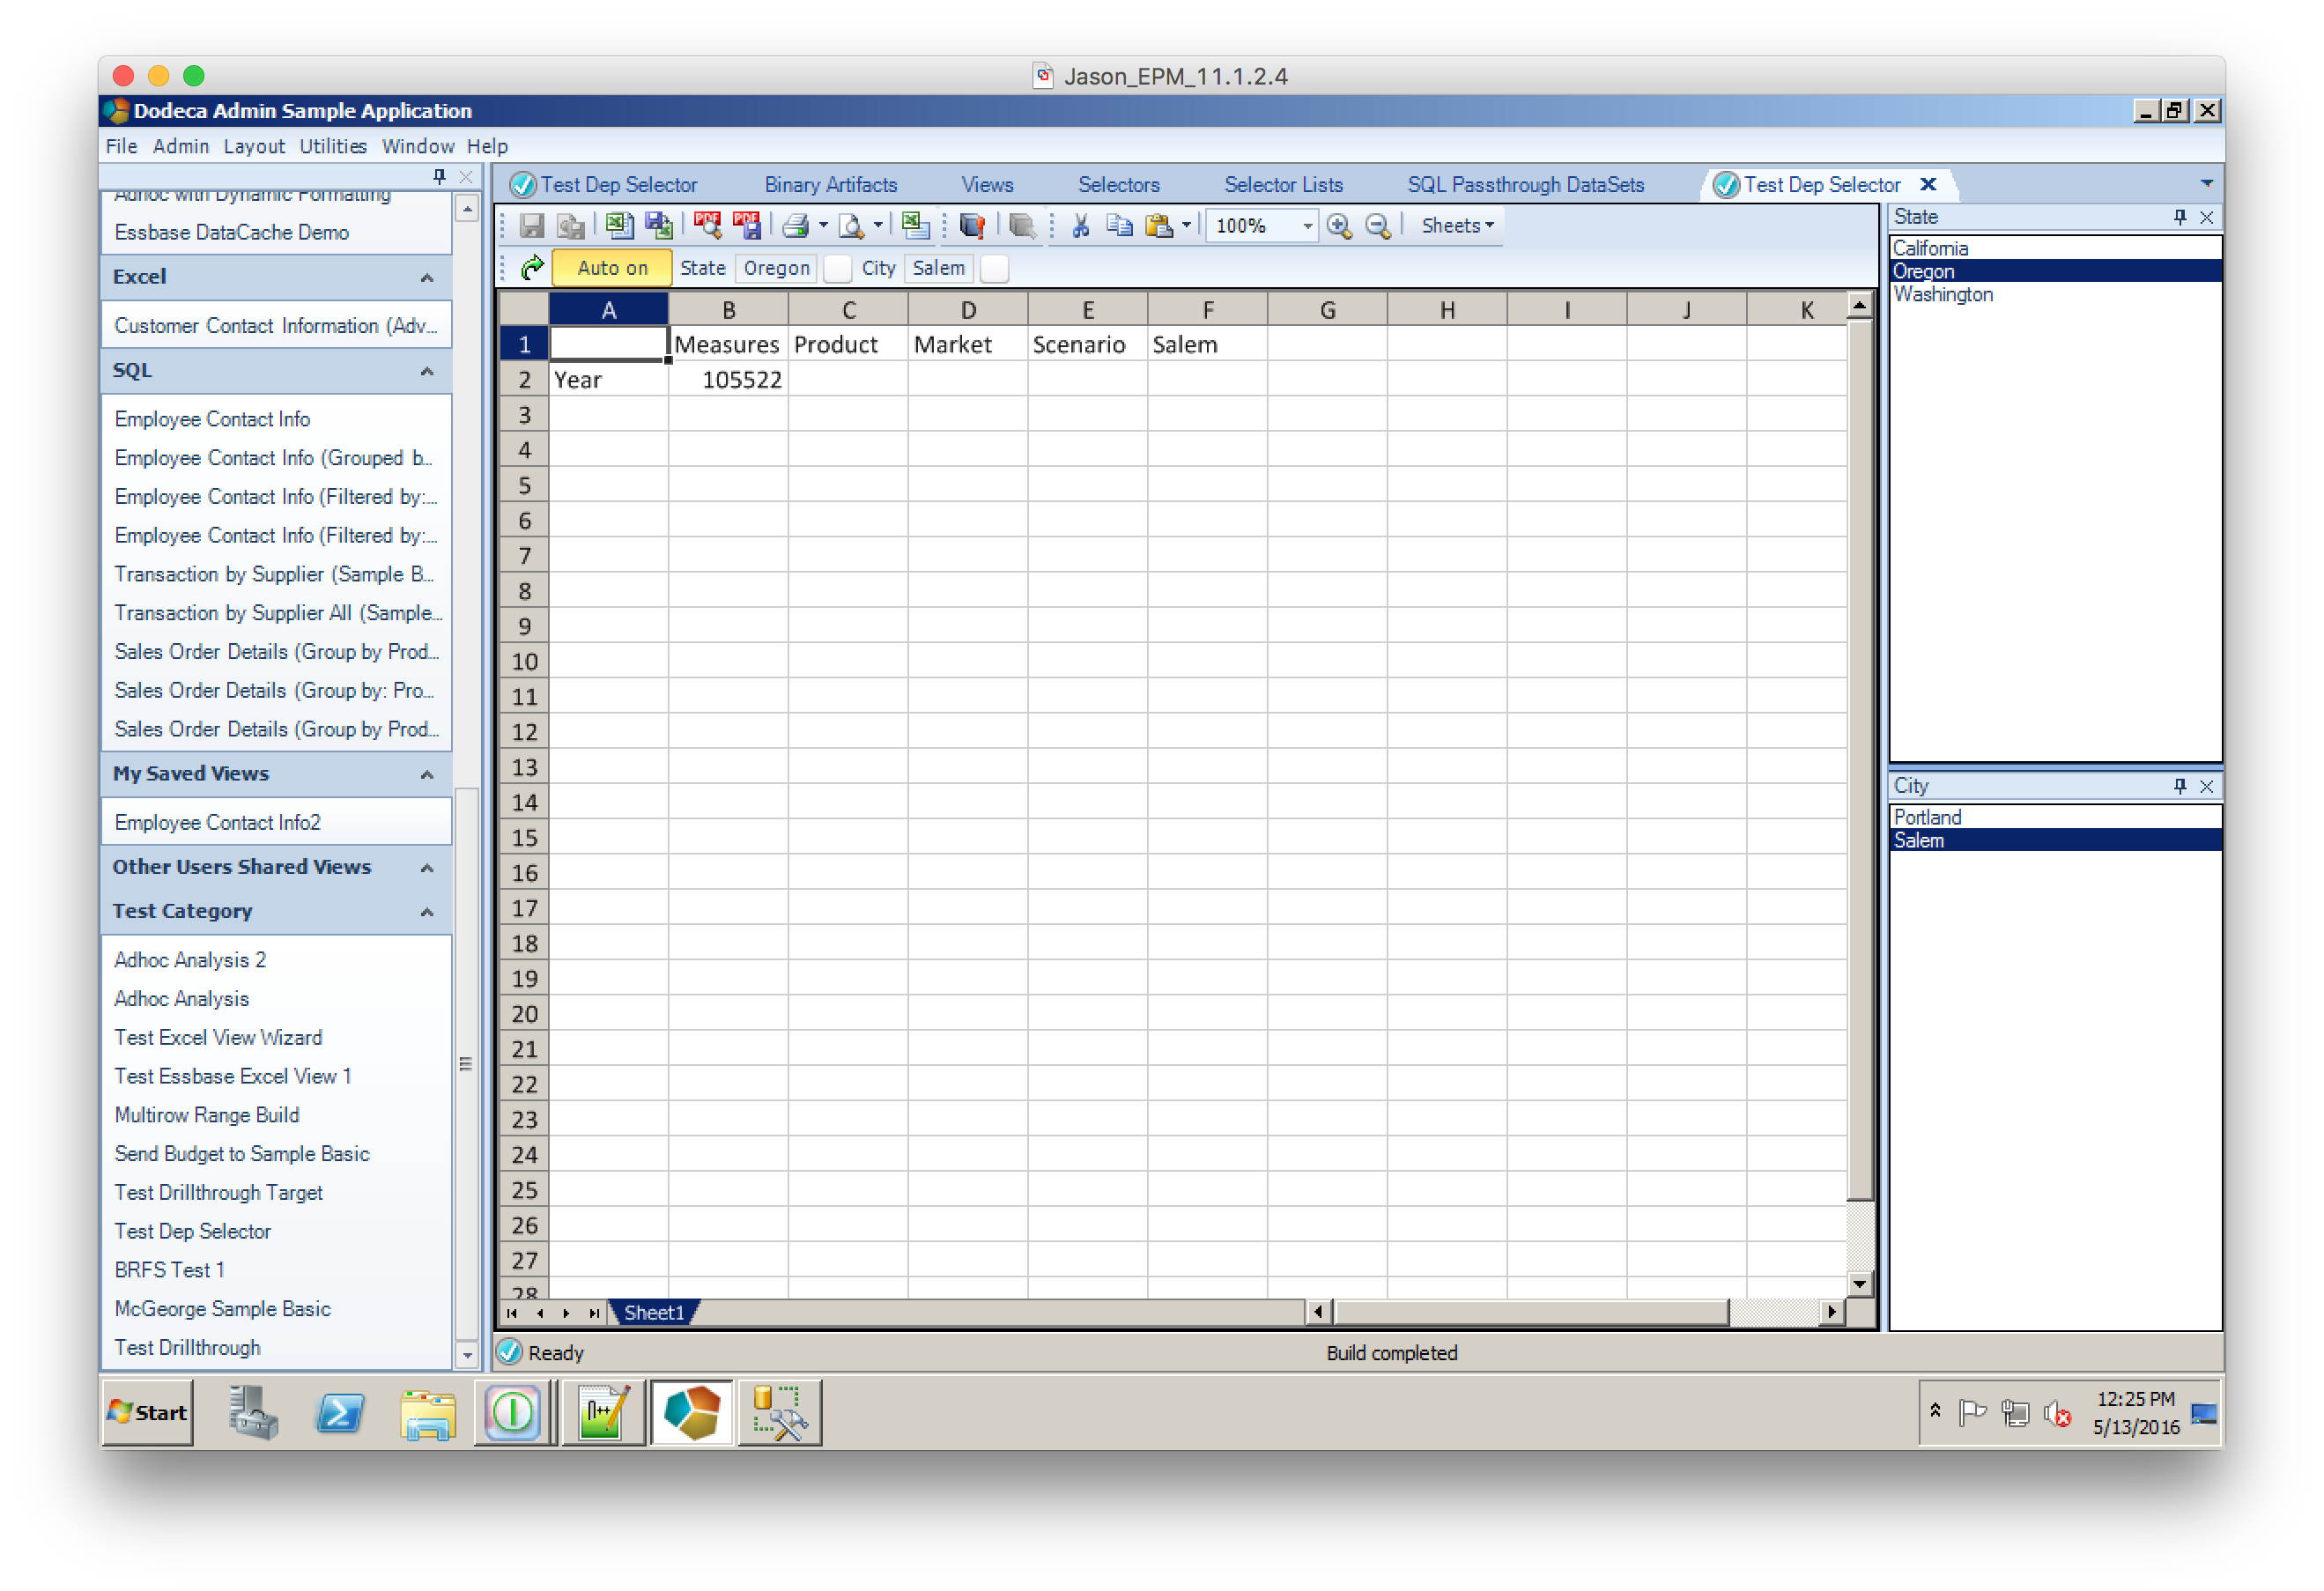
Let’s go and test this source report again and see that the third column has links now:

drillbridge-drillable-columns-viewing-drillable-column-links

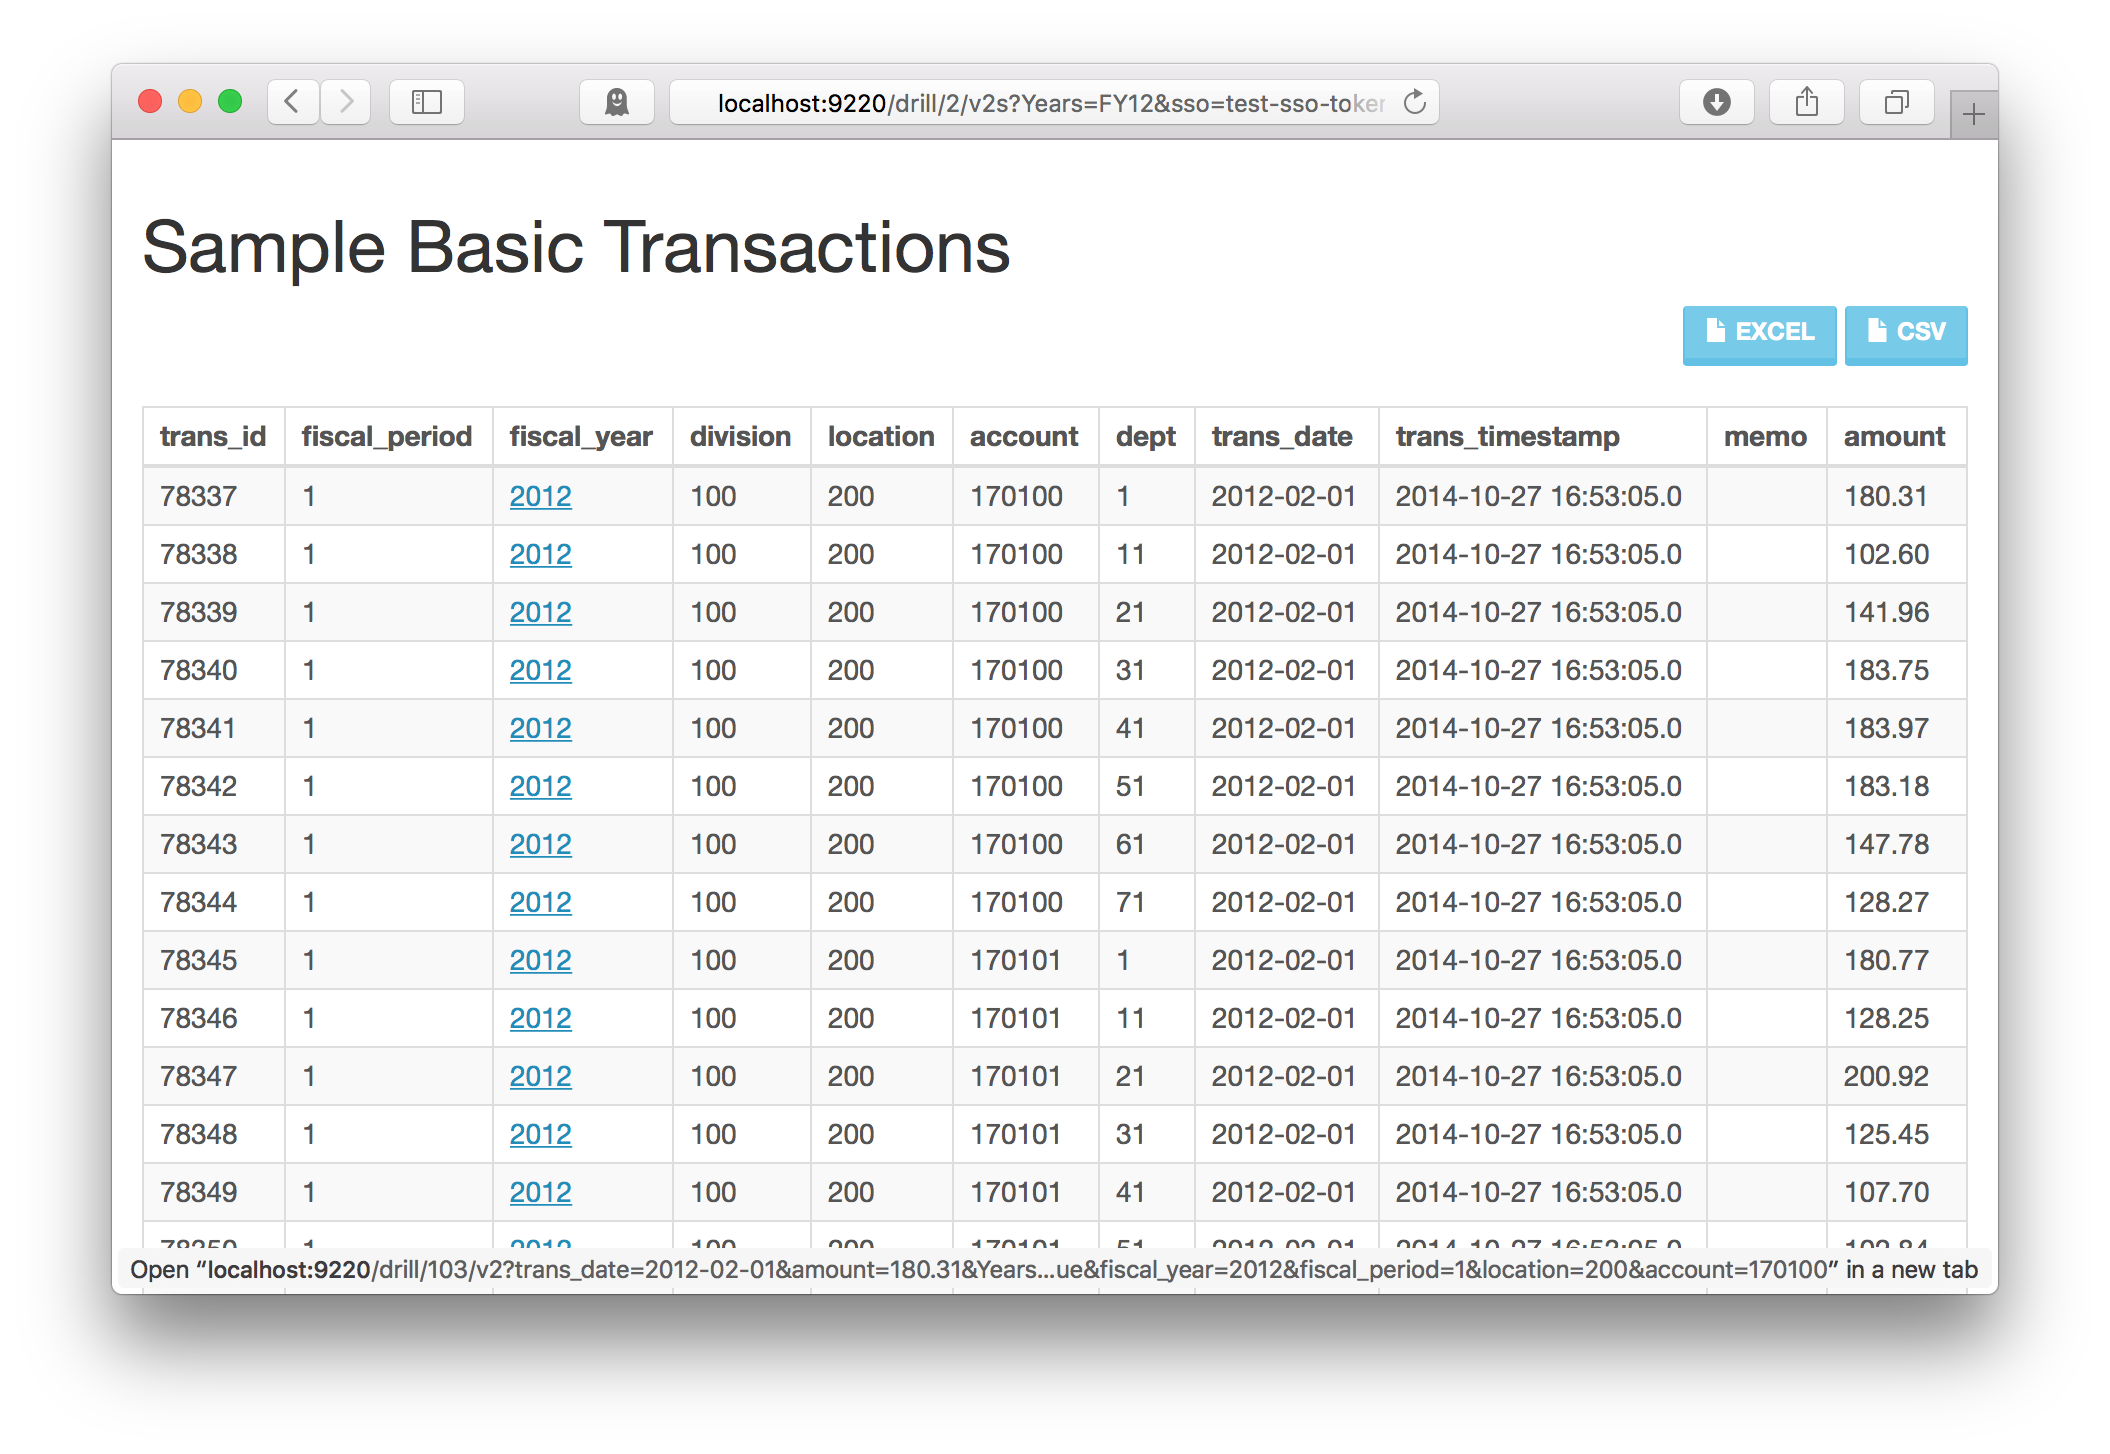
And sure enough, clicking on one of the links brings up the Wikipedia report – which doesn’t bring up a report at all, per se, it just executes the report, which uses the POV to build a URL and automatically redirect the web browser. That’s it!

Report POV vs. row POV

It’s important to consider what the POV handed to our target report will be. The POV is actually the combination of two things, out of necessity: the POV of the source report merged with the POV of the row itself. Whereas the normal report POV might be something like Scenario = Actual, Year = FY12, Time = June, the POV handed to the target report will be all of those things, plus keys and values from the current row. For example, if the original report only considered a given account but showed details for transactions, and there was a column called TRANSACTION_NUM, then the POV would also include a key named TRANSACTION_NUM with a value of whatever the value from that row is. This is critical for users that want to link to something or execute another query using data from the row.

Drillable Columns is one of my favorite features of Drillbridge because it’s so easy but powerful, but more importantly, it saves people time, and that’s what Drillbridge is all about.

Dependent Selectors in Dodeca

The dependent selectors feature in Dodeca is one of my favorite “simple” features. I say “simple” because the implementation is very straightforward. I like it so much because the crux of this feature is about getting users to their data and reports faster, with the most streamlined UI possible. Not to get on my architectural high horse too much, but I believe that solutions – whether it’s a cube, a view, software, an ODI solutions, or whatnot – should be elegant, maintainable, and intuitive. Perhaps in another life I was a UI or UX designer. Advanced software such as Dodeca and its more niche cousin Drillbridge strive to make users and administrators alike as productive as possible.

To that end, dependent selectors are a way to provide an enhanced report/view build experience. In a typical Dodeca report, you typically select values from one or more selectors: choose a time period, choose a year, choose a location, build the report. You might choose multiple selections such as multiple time periods – it all just depends on how the selector list has been configured. A dependent selector is one whose value changes depending on one or more of the other selectors.

As a straightforward example, consider a view where the user must select a state and a city to build a report. The available states to select are, say, the 50 states in the US. And the available cities may span all of these states. But let’s say in this example that when we choose a state, we want to choose from a list of cities in that state using another selector. By doing this we get people to their data faster and improve the user experiencce.

This can be accomplished easily with a dependent selector. Let me show you how, starting with some simple tables modeling the states and the cities.

Here we have the table STATES for states and STATE_CITIES for cities. Also note that even though this is a bit of a “quick and dirty” example, I have nevertheless given the STATES table a primary key of STATE_ID (the two letter postal state code), and a STATE_NAME column with the “nice name” of the state. This will come into play more a little bit later when I talk about selectors and the difference between an ID and a value. Next, over in the STATE_CITIES table, we have a compound primary key of the combination of the STATE_ID (a foreign key into our STATES table), and the city name. These data constraints ensure that every state/city combination is unique, and that every city is associated with a particular state that exists in our states table.

states-and-cities-sql-server-tables

The tables we have designed so far will be used as the basis of a Dodeca selector. Dodeca is very flexible with respect to how selectors are populated, with two of the primary methods of populating them being from Essbase dimensions or generated with SQL. In this case we’ll use the SQL Passthrough DataSet editor to create a query that pulls back the list of states from this table:

state-sql-selector

We can quickly and easily test the selector by using the Test Data Set button in the interface, showing that the query does indeed work (note that I only populated the table with a few states):

state-test-data-in-dodeca

Now things get a little more interesting where we go to define the query for our city selector. We write a normal query, but in place of a value for the WHERE STATE_ID clause, we put in our states token (written as [T.States] in this case. Come runtime, the value of [T.States] will be replaced with value from our state selector, based on what the user has highlighted.state-city-selector

One of the newer features in Dodeca is the ability to save and edit test tokens so we can test the query out immediately instead of having to build a view first. Pressing the Edit TestTokens button brings up the following editor:state-city-selector-test-token

Let’s plugin a value of WA for [T.States] so we can test out which cities come back when the state is Washington. Note that my tokens value corresponds to the ID of the state in this case. I’ve configured the selector to use an ID value in this case, but I could have used the state name if I wanted to. Wherever possible I prefer to use the “core” or identifying value of a piece of data. Let’s test out the query to verify that the query works and the correct data comes back:state-city-test-results

For good measure let’s swing by the Selectors editor and ensure that we have created selectors for [T.States] and [T.State_Cities]:

selector-list-with-states

Now let’s look at the Selector List that corresponds to our State from the Selectors configuration. In particular note that the type of the selector list is a SQLPassthroughDataSet where we have chosen the associated data set ID:

state-selector-list-configuration

Now let’s go over to the city selector list, where things get a little more interesting. Here we can choose the DependentOnSelectorIDs value and tell this selector which other selectors will influence it. We simply choose States:state-city-selector-list-configuration

With the selectors all configured, we can now include them in our view by including them as we normally would. For those of you not familiar with Dodeca, a view is like a report template, and when we administrators design the view for users, we can control an incredibly large amount of its behavior very easily. Each view can have its selectors configured, which will influence the options that a user gets to select from in terms of configuring and building the view. So by going to the Selectors configuration for a particular view/report, we get to choose which selectors should be associated with the view. In this case, it’s the State and State_Cities selectors. We could easily have more (and usually would, such as time periods, years, and other things).
view-selector-configuration

With that all set, let’s commit our changes and go take a look at the view. Note how I have selected Washington from the State selector in the top right of the window. In real-time when I select Washington, the City selector refreshes instantaneously, showing just those cities from Washington:view-selector-state-and-city-lists

Since I have Auto Build turned on for this report, once I have selected a city the report refreshes using my selection:
view-built-with-dep-city

The report shown is just an incredibly minimal report for testing purposes that simply uses the city as part of a simple retrieve, but an arbitrarily complex report could also have been designed and used. 

Selector ID vs. Display Value

I mentioned earlier that while we were showing the full name of the states, we were actually using the state code under the hood, so to speak. This is somewhat analogous to member names and aliases in Essbase, where we have a core name (one that is often a little less “friendly” to the user) and a display name that is more friendly. As a configurable option, Dodeca let’s you use a value for display and an internal value for the ID – if you want. In this case it came in handy for the SQL because the query I wanted to write to fetch the cities was simplest if it got to use the state ID rather than the name. Without this feature I might have had to just show terse IDs to the user or rewrite the SQL query to join against another table so I could dereference the full state name. I think the design win here is that we got to show the “nice” name to the user but not have to make any sacrifices in the design (in terms of enduring additional complexity).