I want to talk about one of the more interesting aspects of Dodeca and its extensibility: applications. In some of my past posts, I’ve alluded to this notion of applications (and also something called a tenant) in Dodeca but haven’t really had a chance to dive into much detail. I’ll get into the notion of tenants some other day, so today’s focus is on what an application is.
In our world (the EPM world, that is), the term application has a lot of meanings. In Essbase-land, it’s a container for cubes or plan types. In the world of software, it usually means a single program. In the world of Dodeca, an application defines the views, behavior, look, and other properties that a user will see when they launch Dodeca.
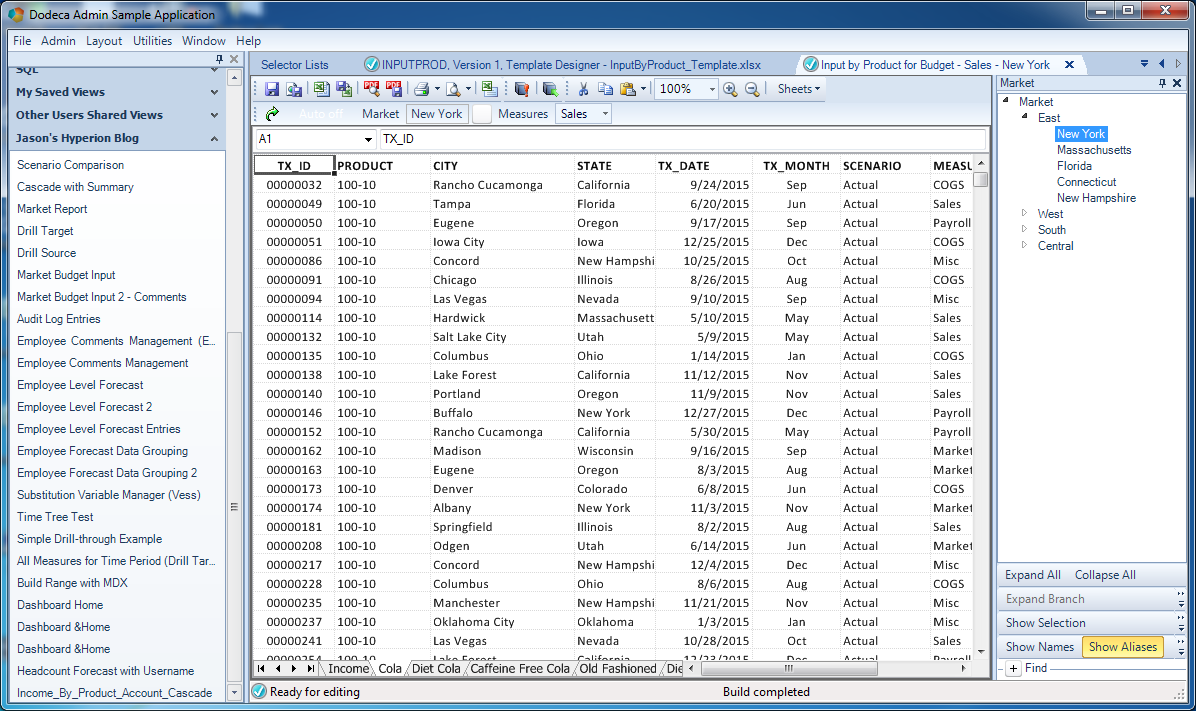
More specifically, consider that when you login to Dodeca, you are actually logging in to a specific Dodeca application (whether you realized it or not). Typically on the left side of the Dodeca window is the list of views that you have access to. This list of views is called the view selector. Now, the view selector itself has several options that determine which views are shown to a given user, but for now just let’s just think of the whole thing (irrespective of content) as the view selector.
Additionally, when logging in to Dodeca, it’s quite common to use your enterprise credentials (your username and password) that give you access to a given Essbase server and other things around the company. Interestingly enough, the authentication strategy in Dodeca can be configured on a per-application basis. This means that you might want to use a particular cube to authenticate users in one app, but use a different cube, or LDAP or Active Directory, or something else entirely, to control authentication in another application.
If this feels like an amazing amount of configurability to wield, that’s because it is. Many (most?) software programs that allow for enterprise login capabilities (that is, logging in against an LDAP or similar server) tend to have that configuration buried in a configuration file somewhere, and they only support a global authentication provider configuration.
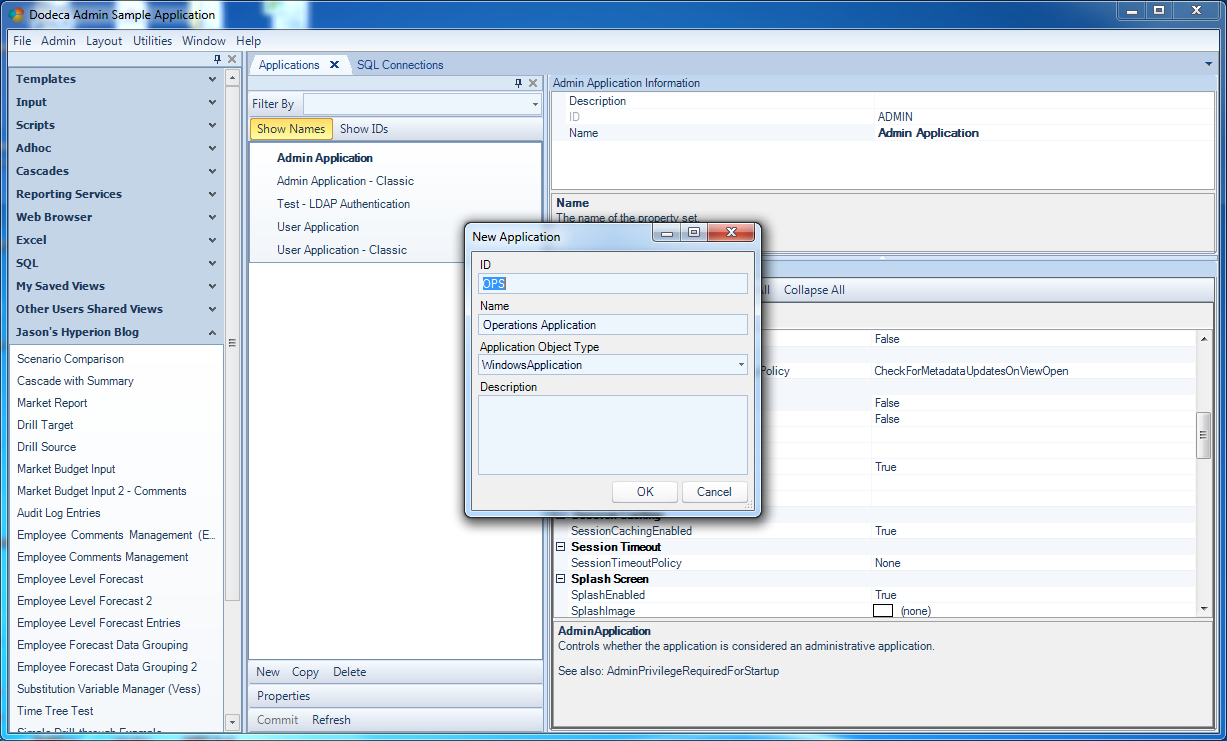
Now that we know a little about what an application is, let’s take a look at the process of creating an new application. As with most objects in Dodeca, Applications have their own menu item under Admin, which brings up a list of apps that can be edited. From there, it’s a simple matter of just selecting New and typing in some details:
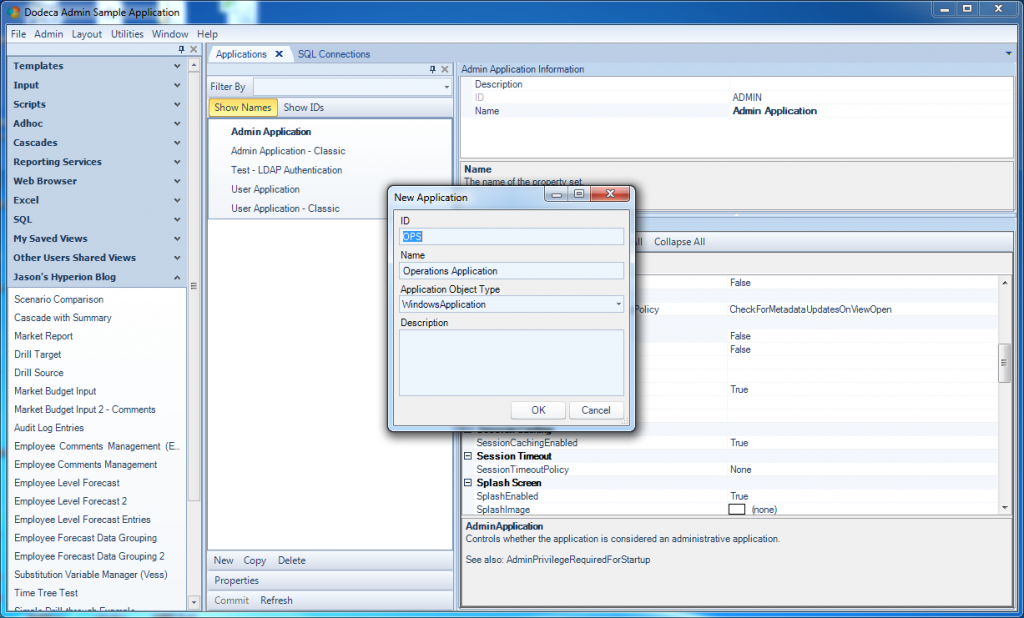
Creating a new application in Dodeca
Let’s give this application an ID of “OPS” – we’ll assume for this example that Dodeca has heretofore been used just in the Finance group, but that the folks in Operations saw how productive and happy the Finance people were and they want to get in on some of that sweet 12-sided action. Also, it’s customary for the application ID to be all capitals and not contain any spaces, as it will be referenced in URLs and shortcuts. We can give it a nicer name, however, which in this case will be “Operations Application”.
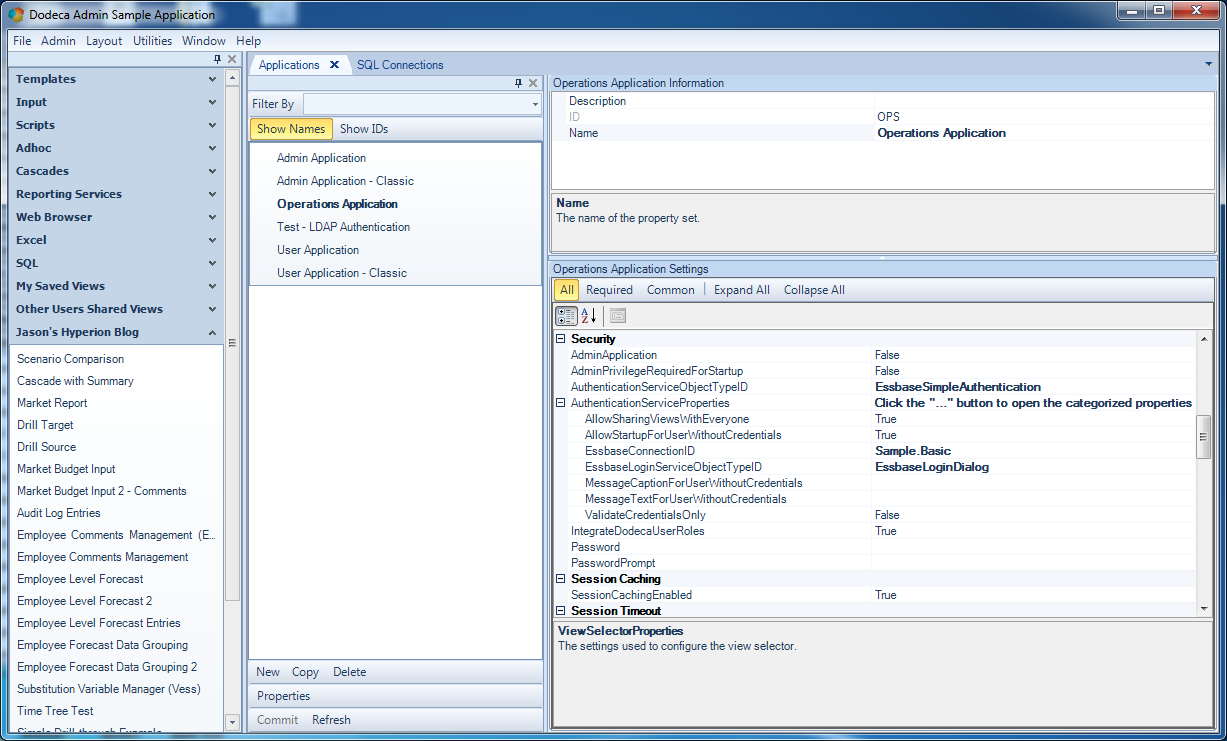
Next, we need to configure some essential properties for the application. There’s a lot we can configure, but for now we’ll stick to the basics. First up, let’s change the caption for the app (the text shown for the titlebar of the program window):
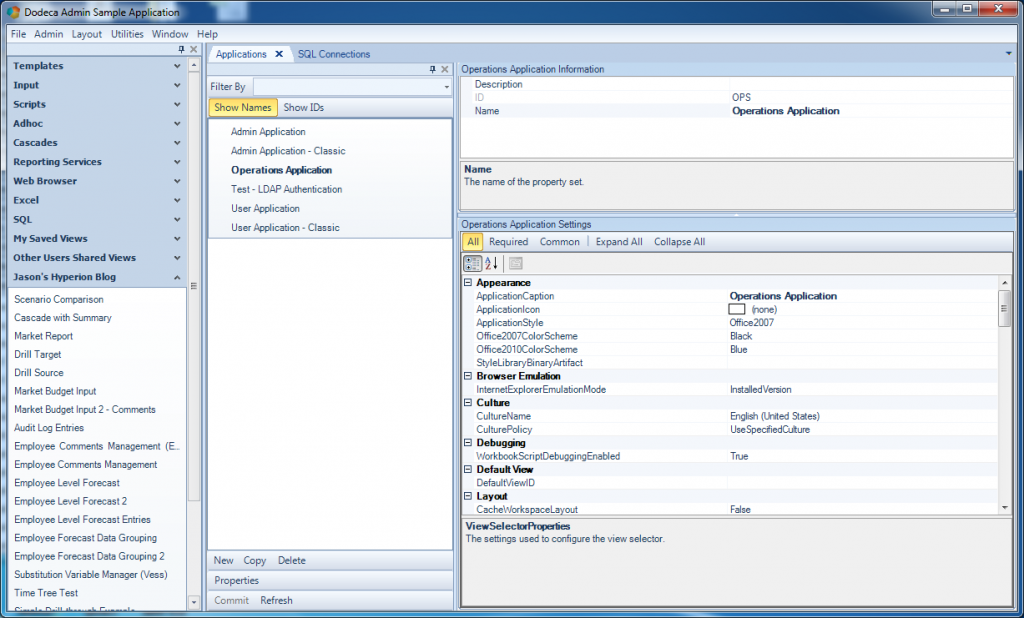
Configuring properties for the new application
Remember, bold properties are the ones that we’ve changed from the default, so in this screenshot I’ve only changed the caption. Next, let’s set the authentication properties:
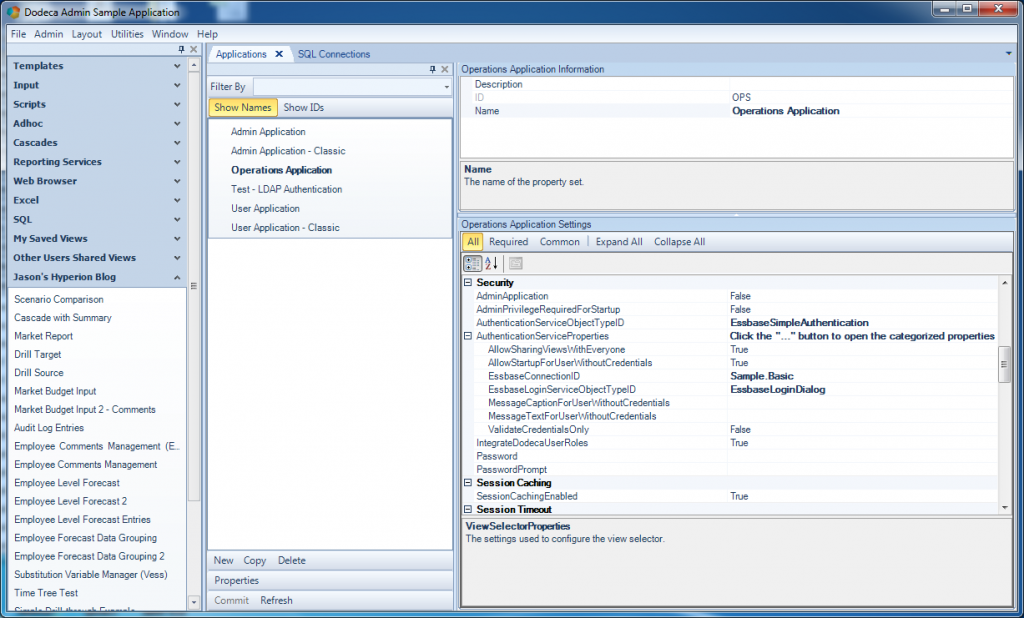
Configuring the authentication strategy for the app
There are several choices here. One of the more common and useful is the EssbaseSimpleAuthentication service. This essentially means that a given cube (one of the defined Dodeca Essbase connections) will serve as the object which is logged into in order to validate a user. The EssbaseConnectionID setting is simply a dropdown where we can quickly select an existing connection.
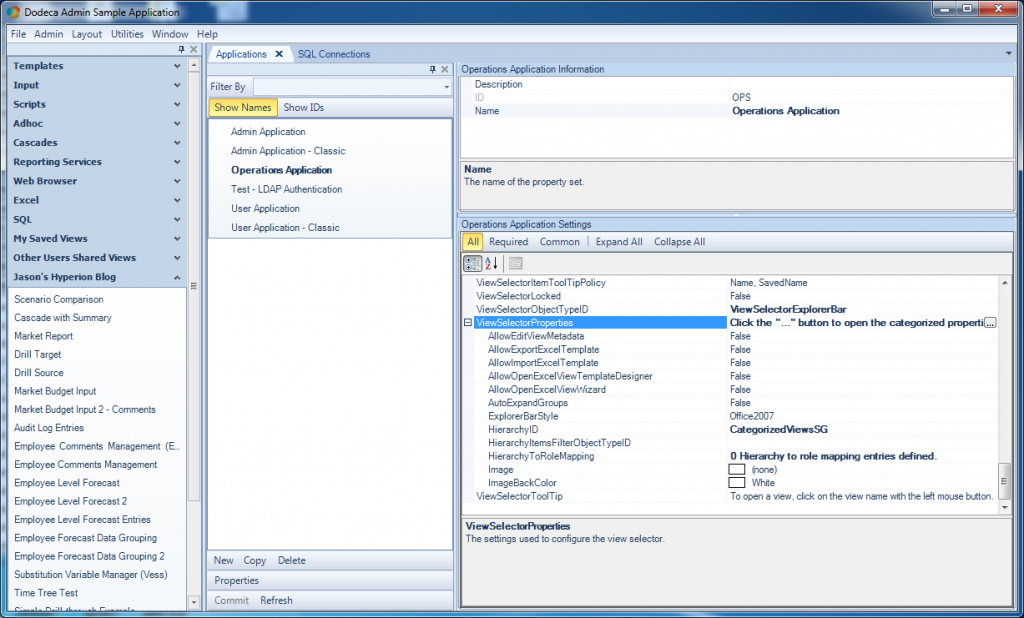
Setting the view selector and hierarchy for the application
Next, we configure a view selector. For this application we’ll just go with a ViewSelectorExplorerBar, then choose a HierarchyID (again as a refresher, hierarchies are also defined in Dodeca as with other objects). That’s actually all we need for now. Since I’m just using an existing hierarchy for demonstration purposes, I expect the contents of the hierarchy in the new application to be the same contents as what I see in this existing application used in the screenshots.
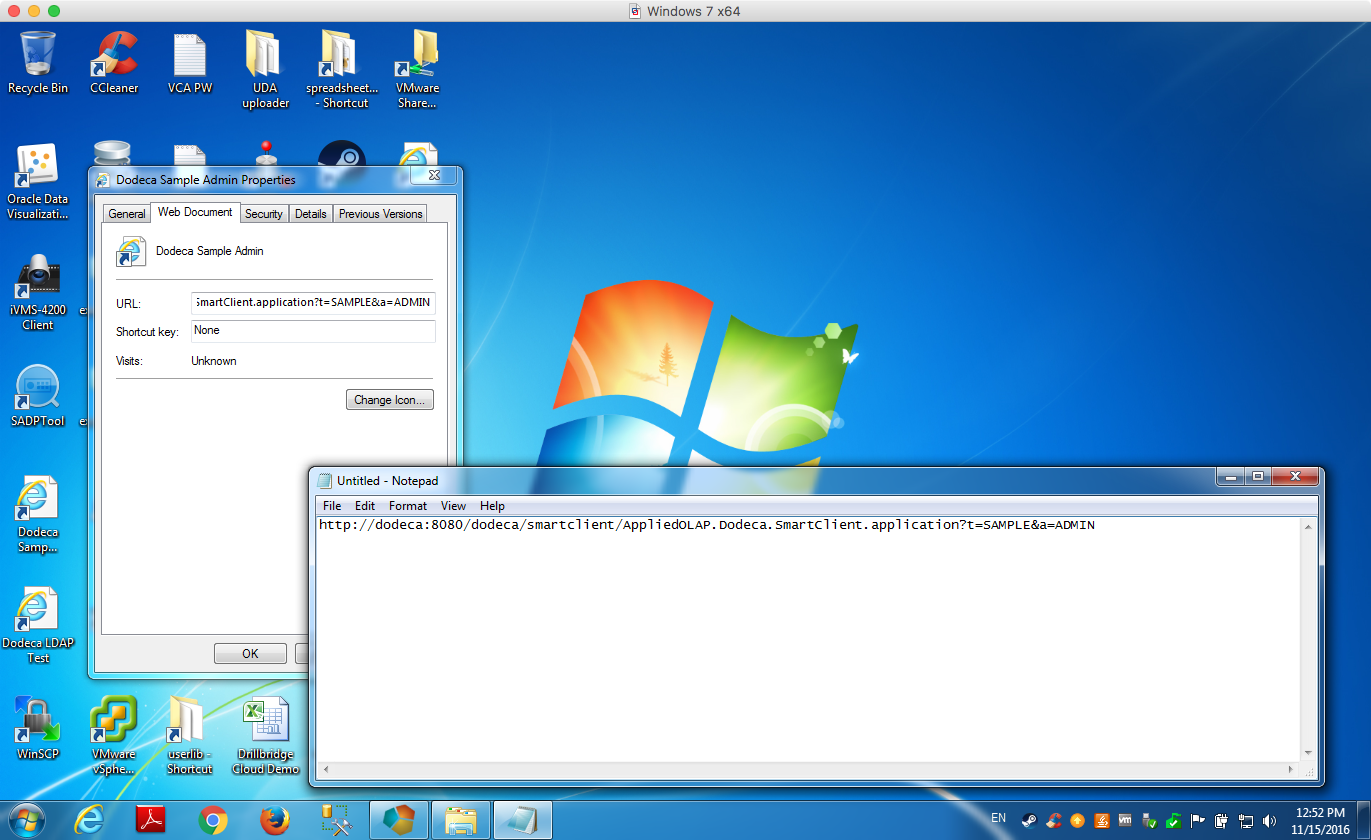
After committing the changes, the new application is ready to be used. In my environment, I can launch it with the following launching the URL http://dodeca:8080/dodeca/smartclient/AppliedOLAP.Dodeca.SmartClient.application?t=SAMPLE&a=OPS
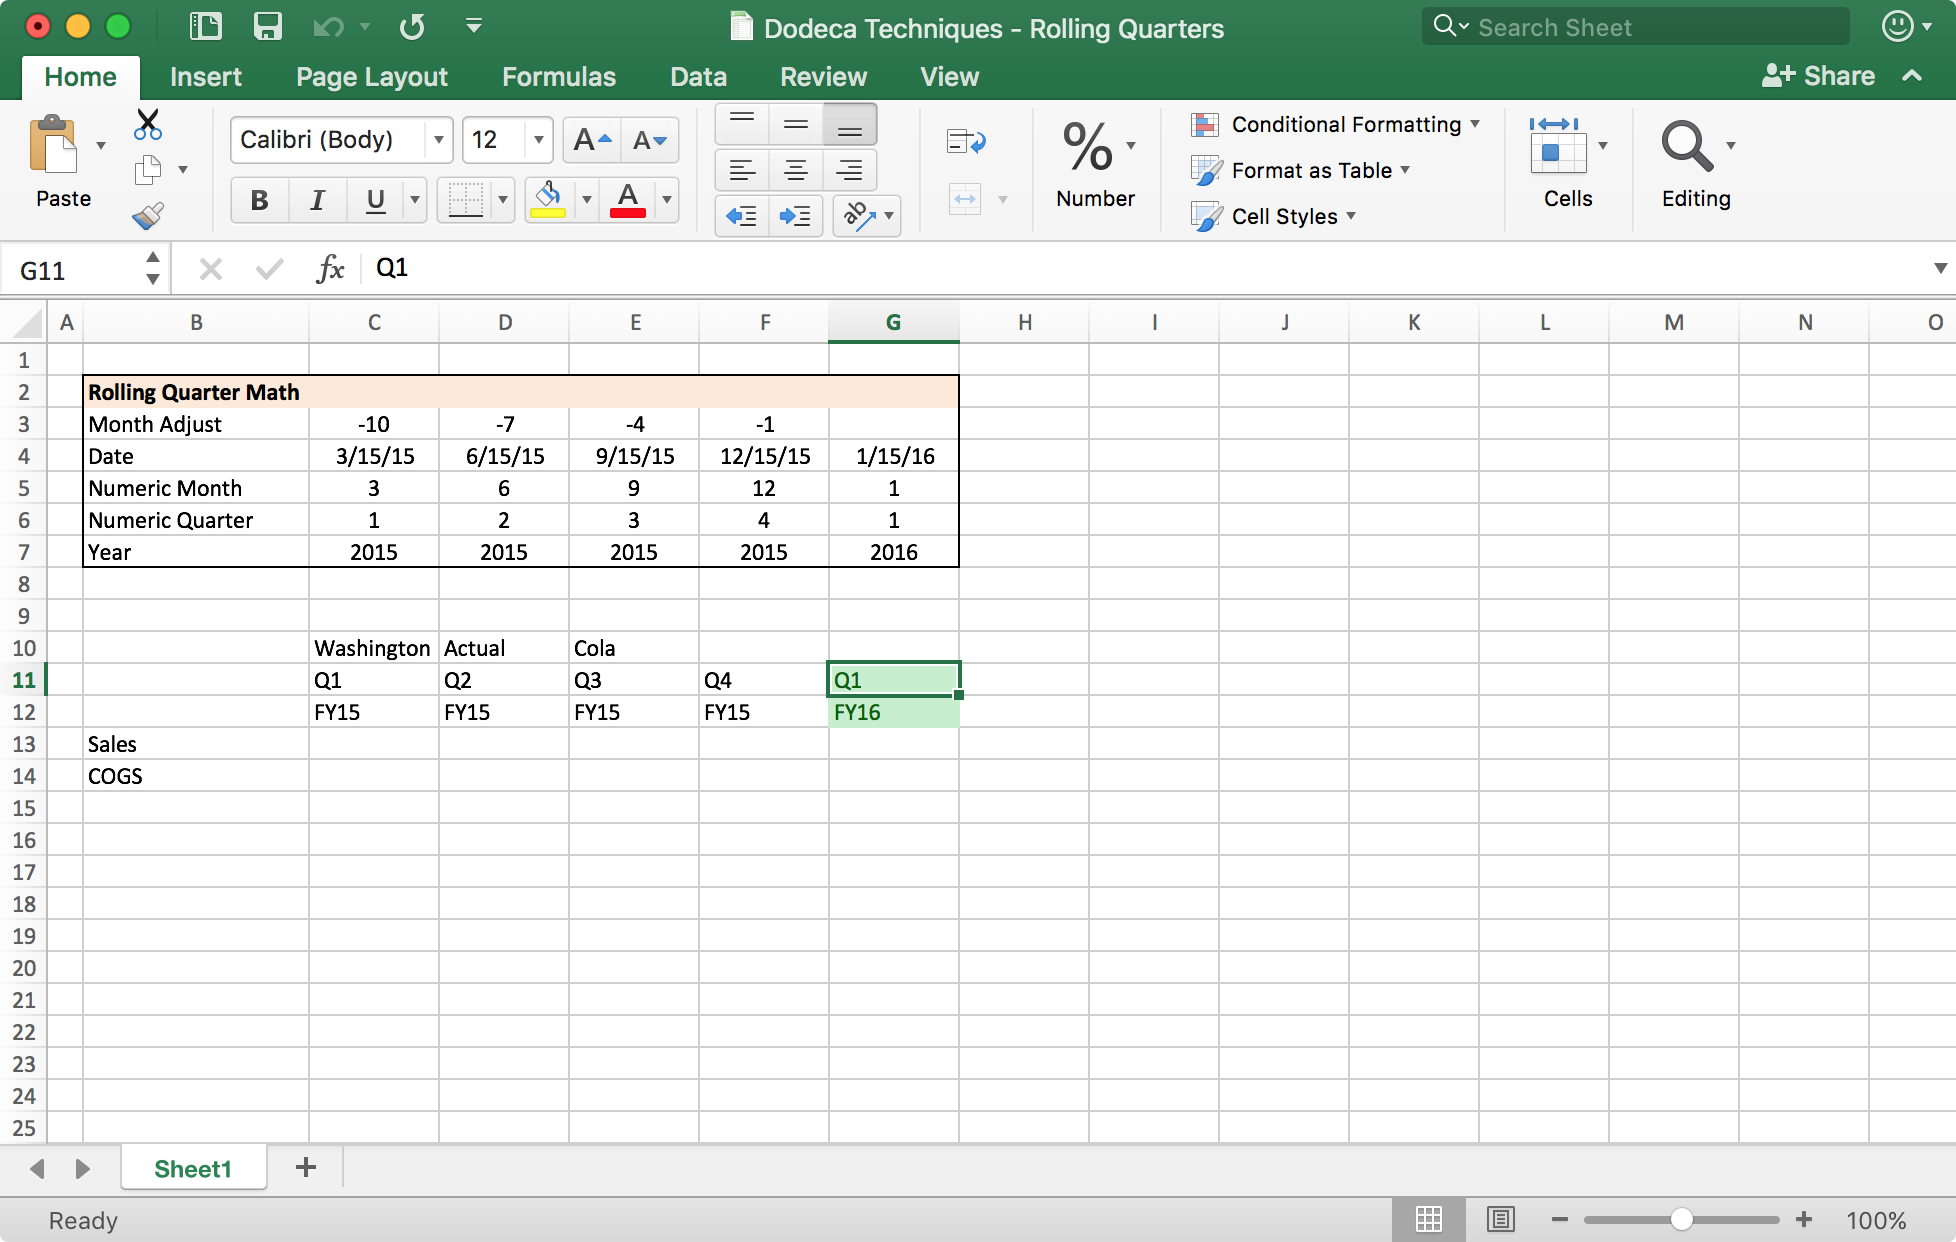
Note that I just took an existing URL and changed the last parameter (...a=OPS) so that it points to the OPS application. Upon launching the URL, my new application comes up and I can run a view in there as I normally would:
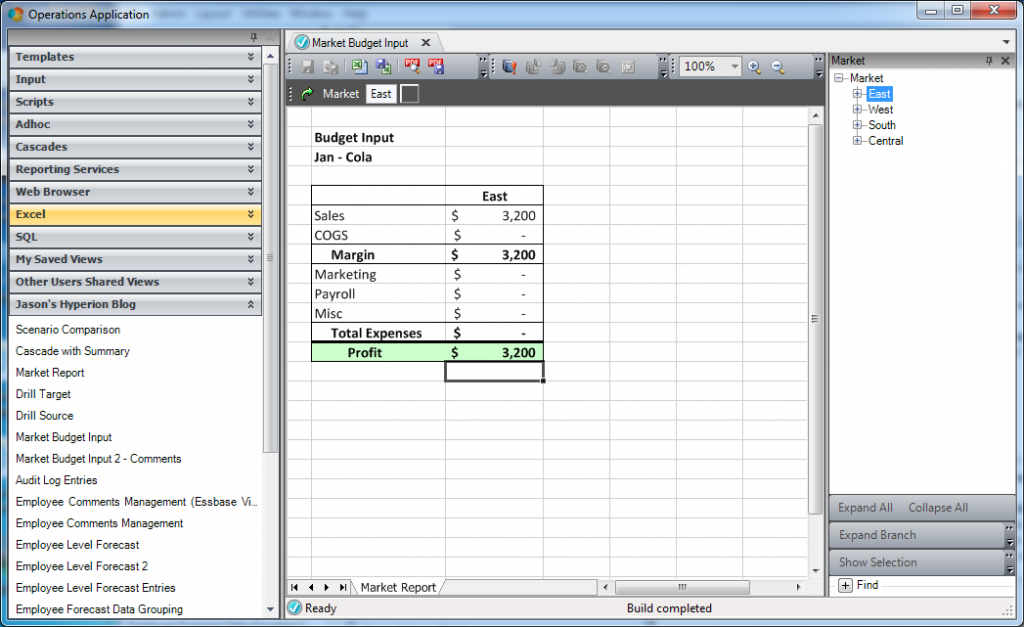
The newly created application has been launched and a report built
You may notice that the look of this application is different than the one we were just in. This is just configured on the application properties. While I didn’t change the look of the new application from the defaults, as it turns out, the app we’ve been working in to this point does have a custom style, so that’s the reason for the difference.
Dodeca Applications Summary
Dodeca has an even greater form of partitioning functionality (called tenants) that I’ll cover in the near future, but I hope this gave you an interesting since of some of the power inherent in the Dodeca application model. I think it’s incredible that we’re able to rapidly spin up a completely distinct Dodeca application by just configuring a few properties. One thing to keep in mind is that this didn’t require setting up a new Dodeca server, a new Dodeca repository, installing software or anything. It’s just modularity that’s inherent to the design of the software. Applications can be used to provide specialized behavior for different groups, sub-groups, types of users, divisions, or whatever else makes sense.